
Leaderboard


Popular Content
Showing content with the highest reputation on 08/27/2023 in all areas
-
This is what I'm sure my wife is now chanting in her head after I finally sold my Ford Focus and bought a 2012 Astra GTC in the Yellow that seems to attract all of the bugs. I've finally joined her and her family in owning my first Vauxhall! Hello new Vauxhall fam.
 1 point
 -
It is definitely a car that will stand out in a crowd. It looks longer, and sleaker.1 point
-
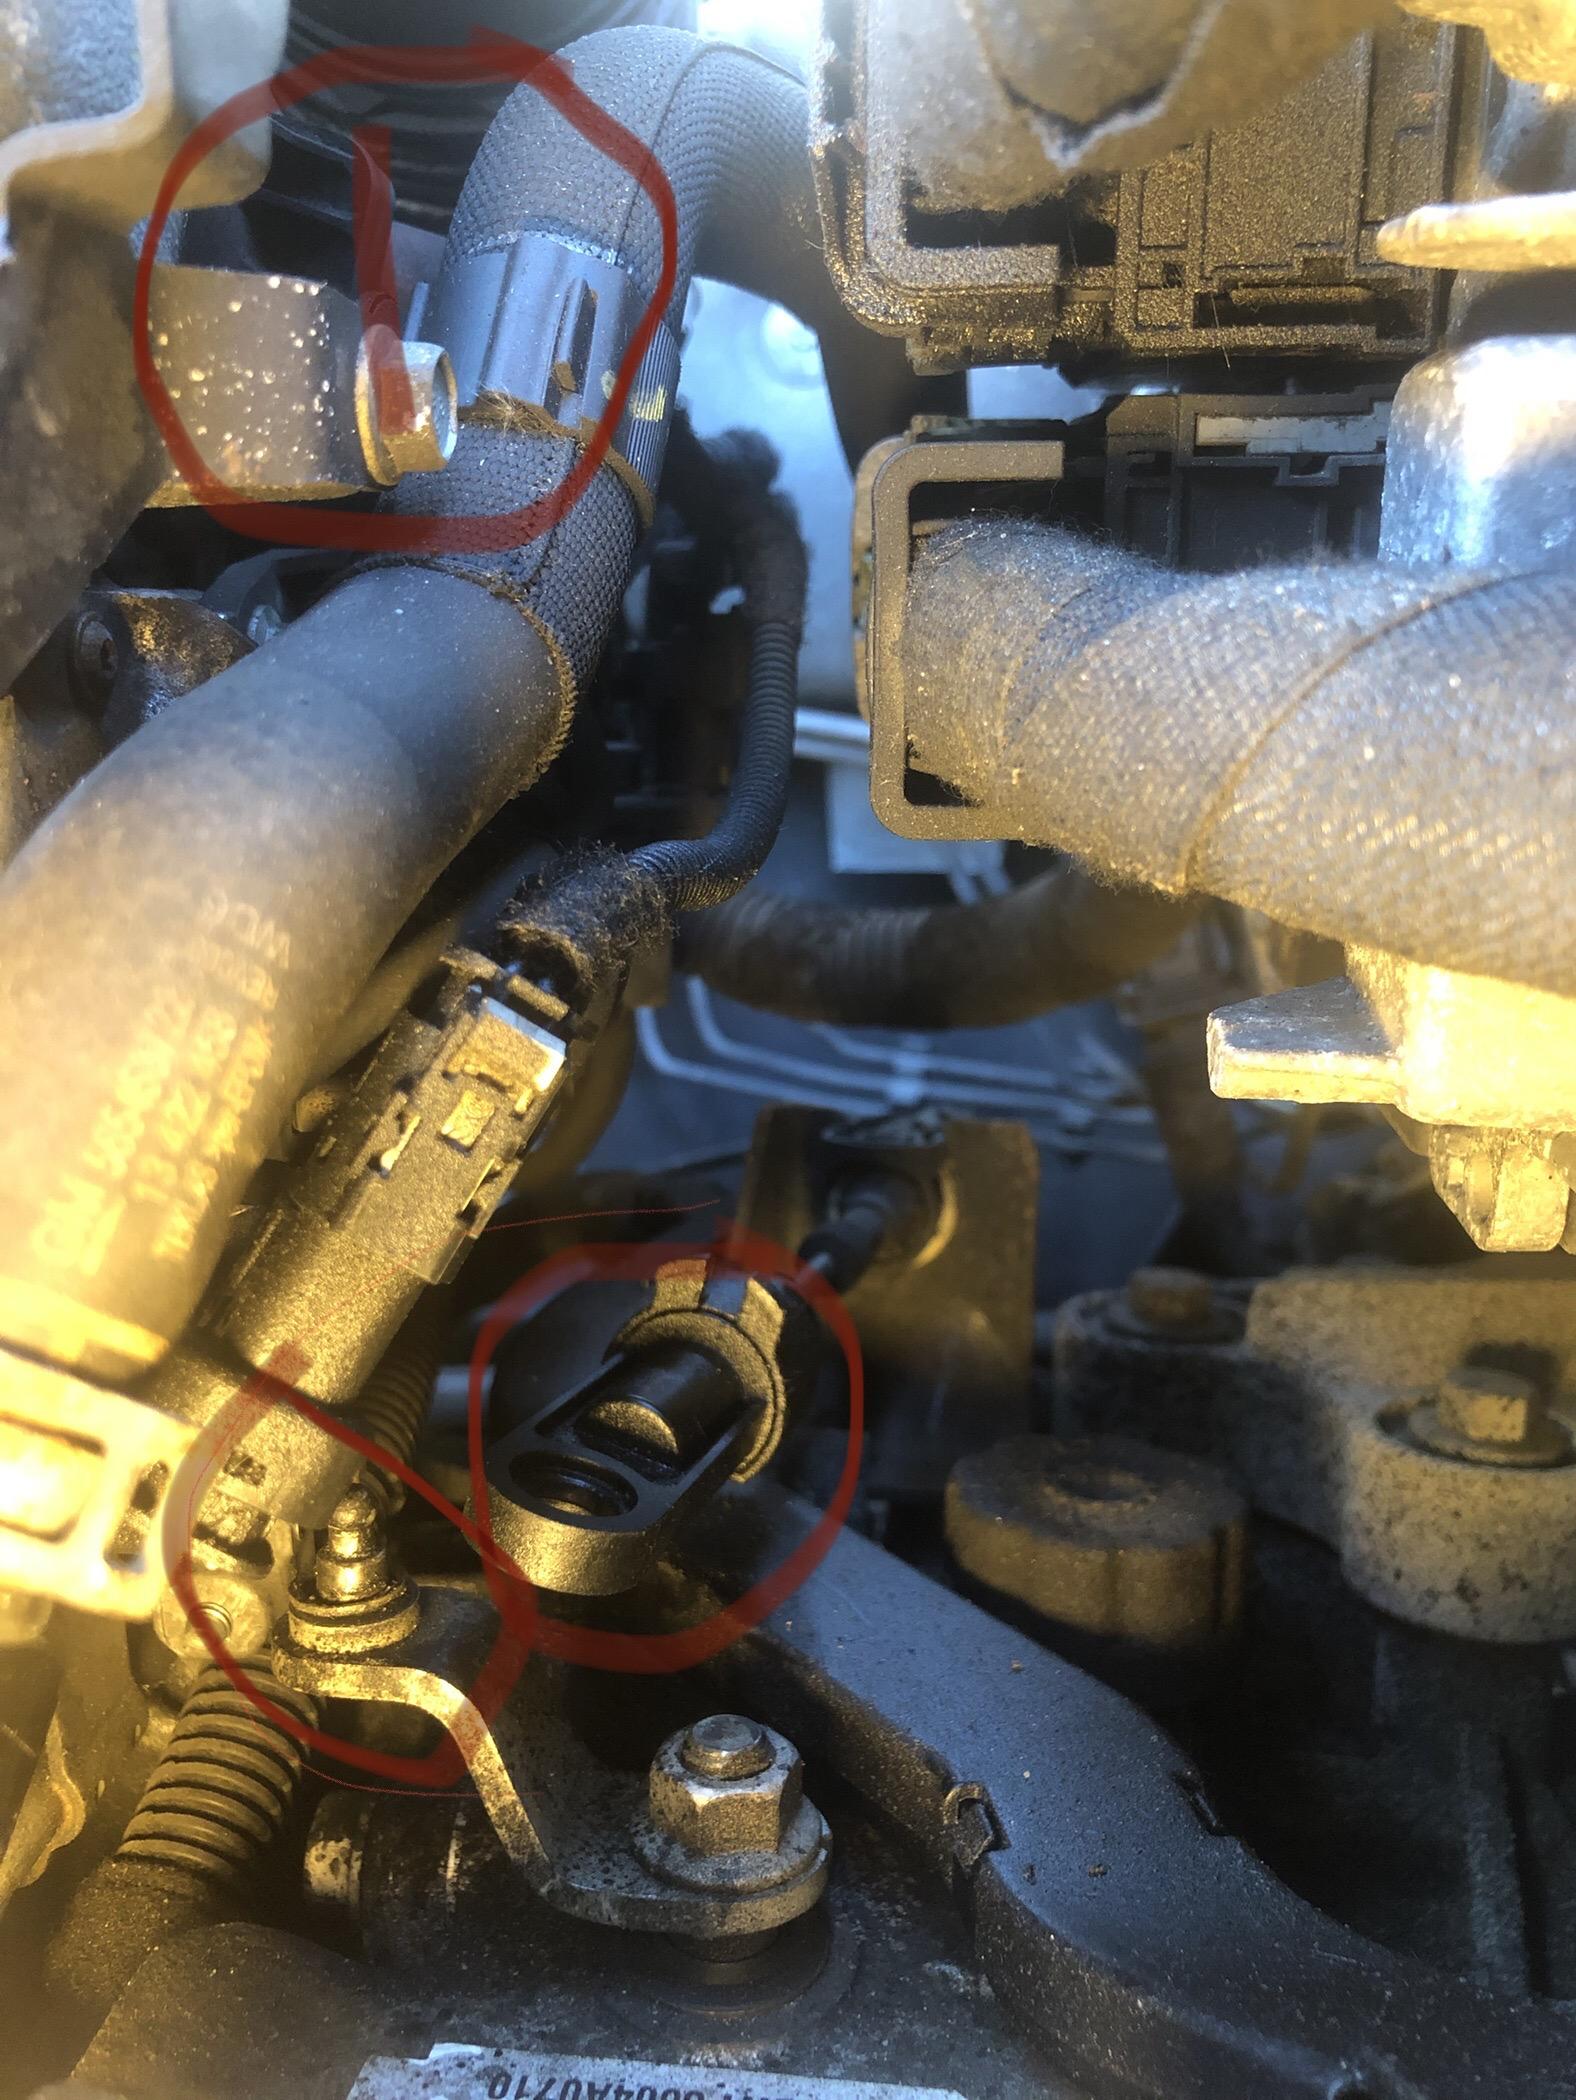
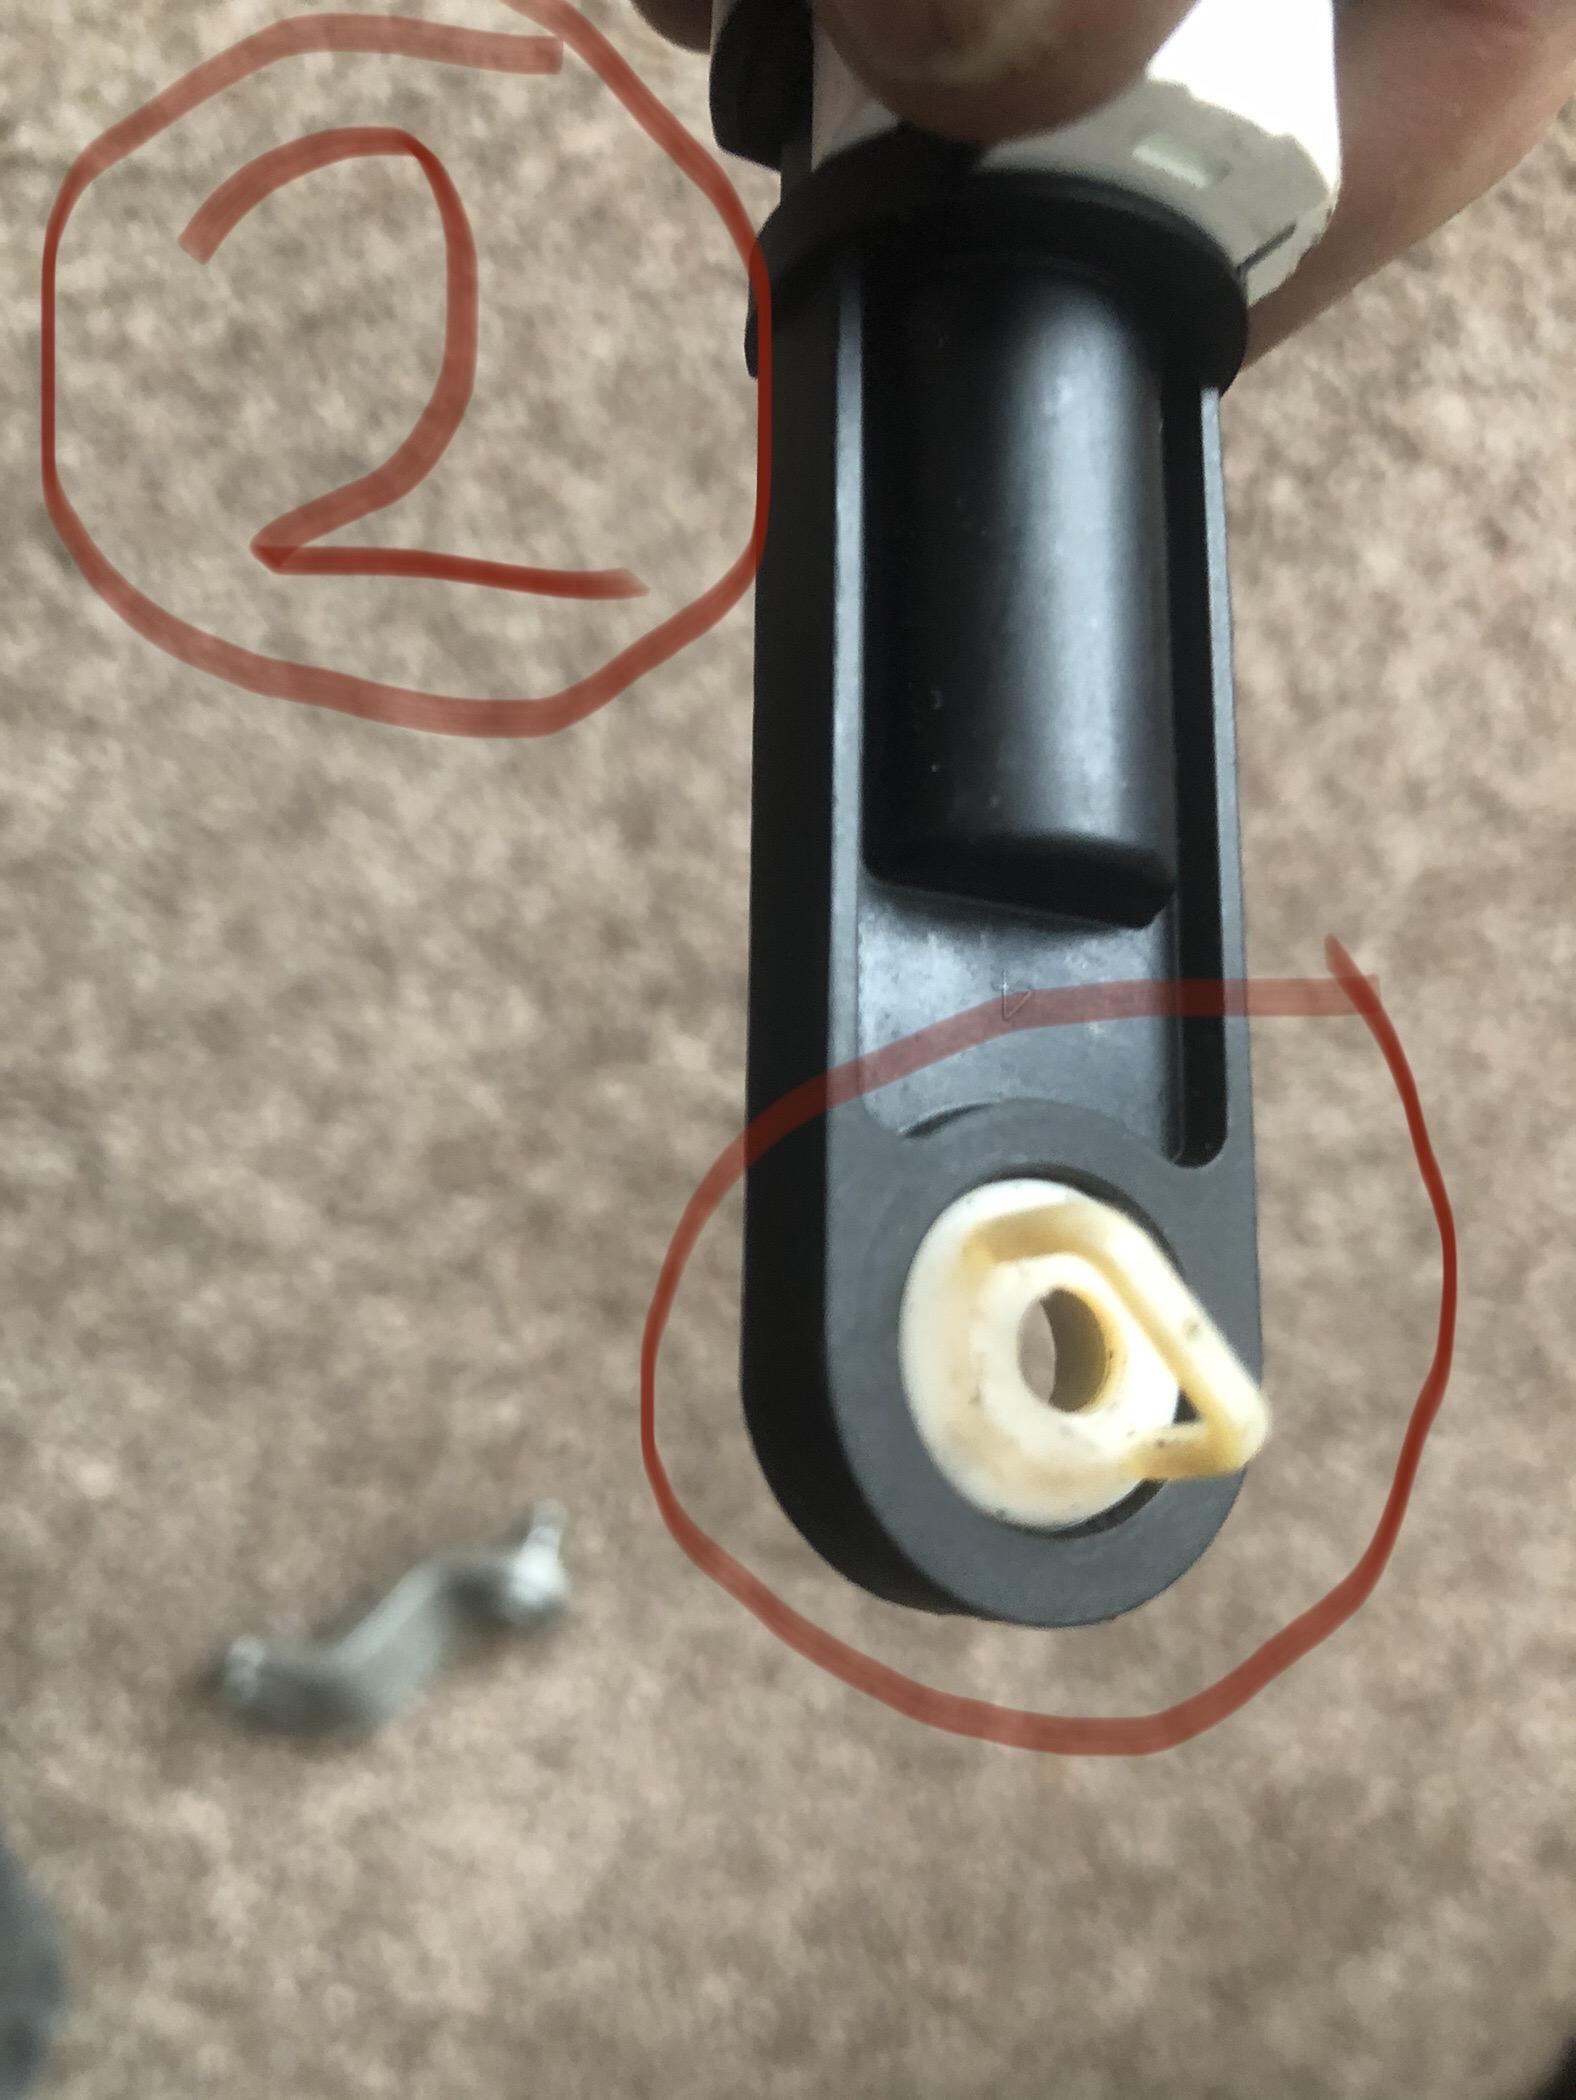
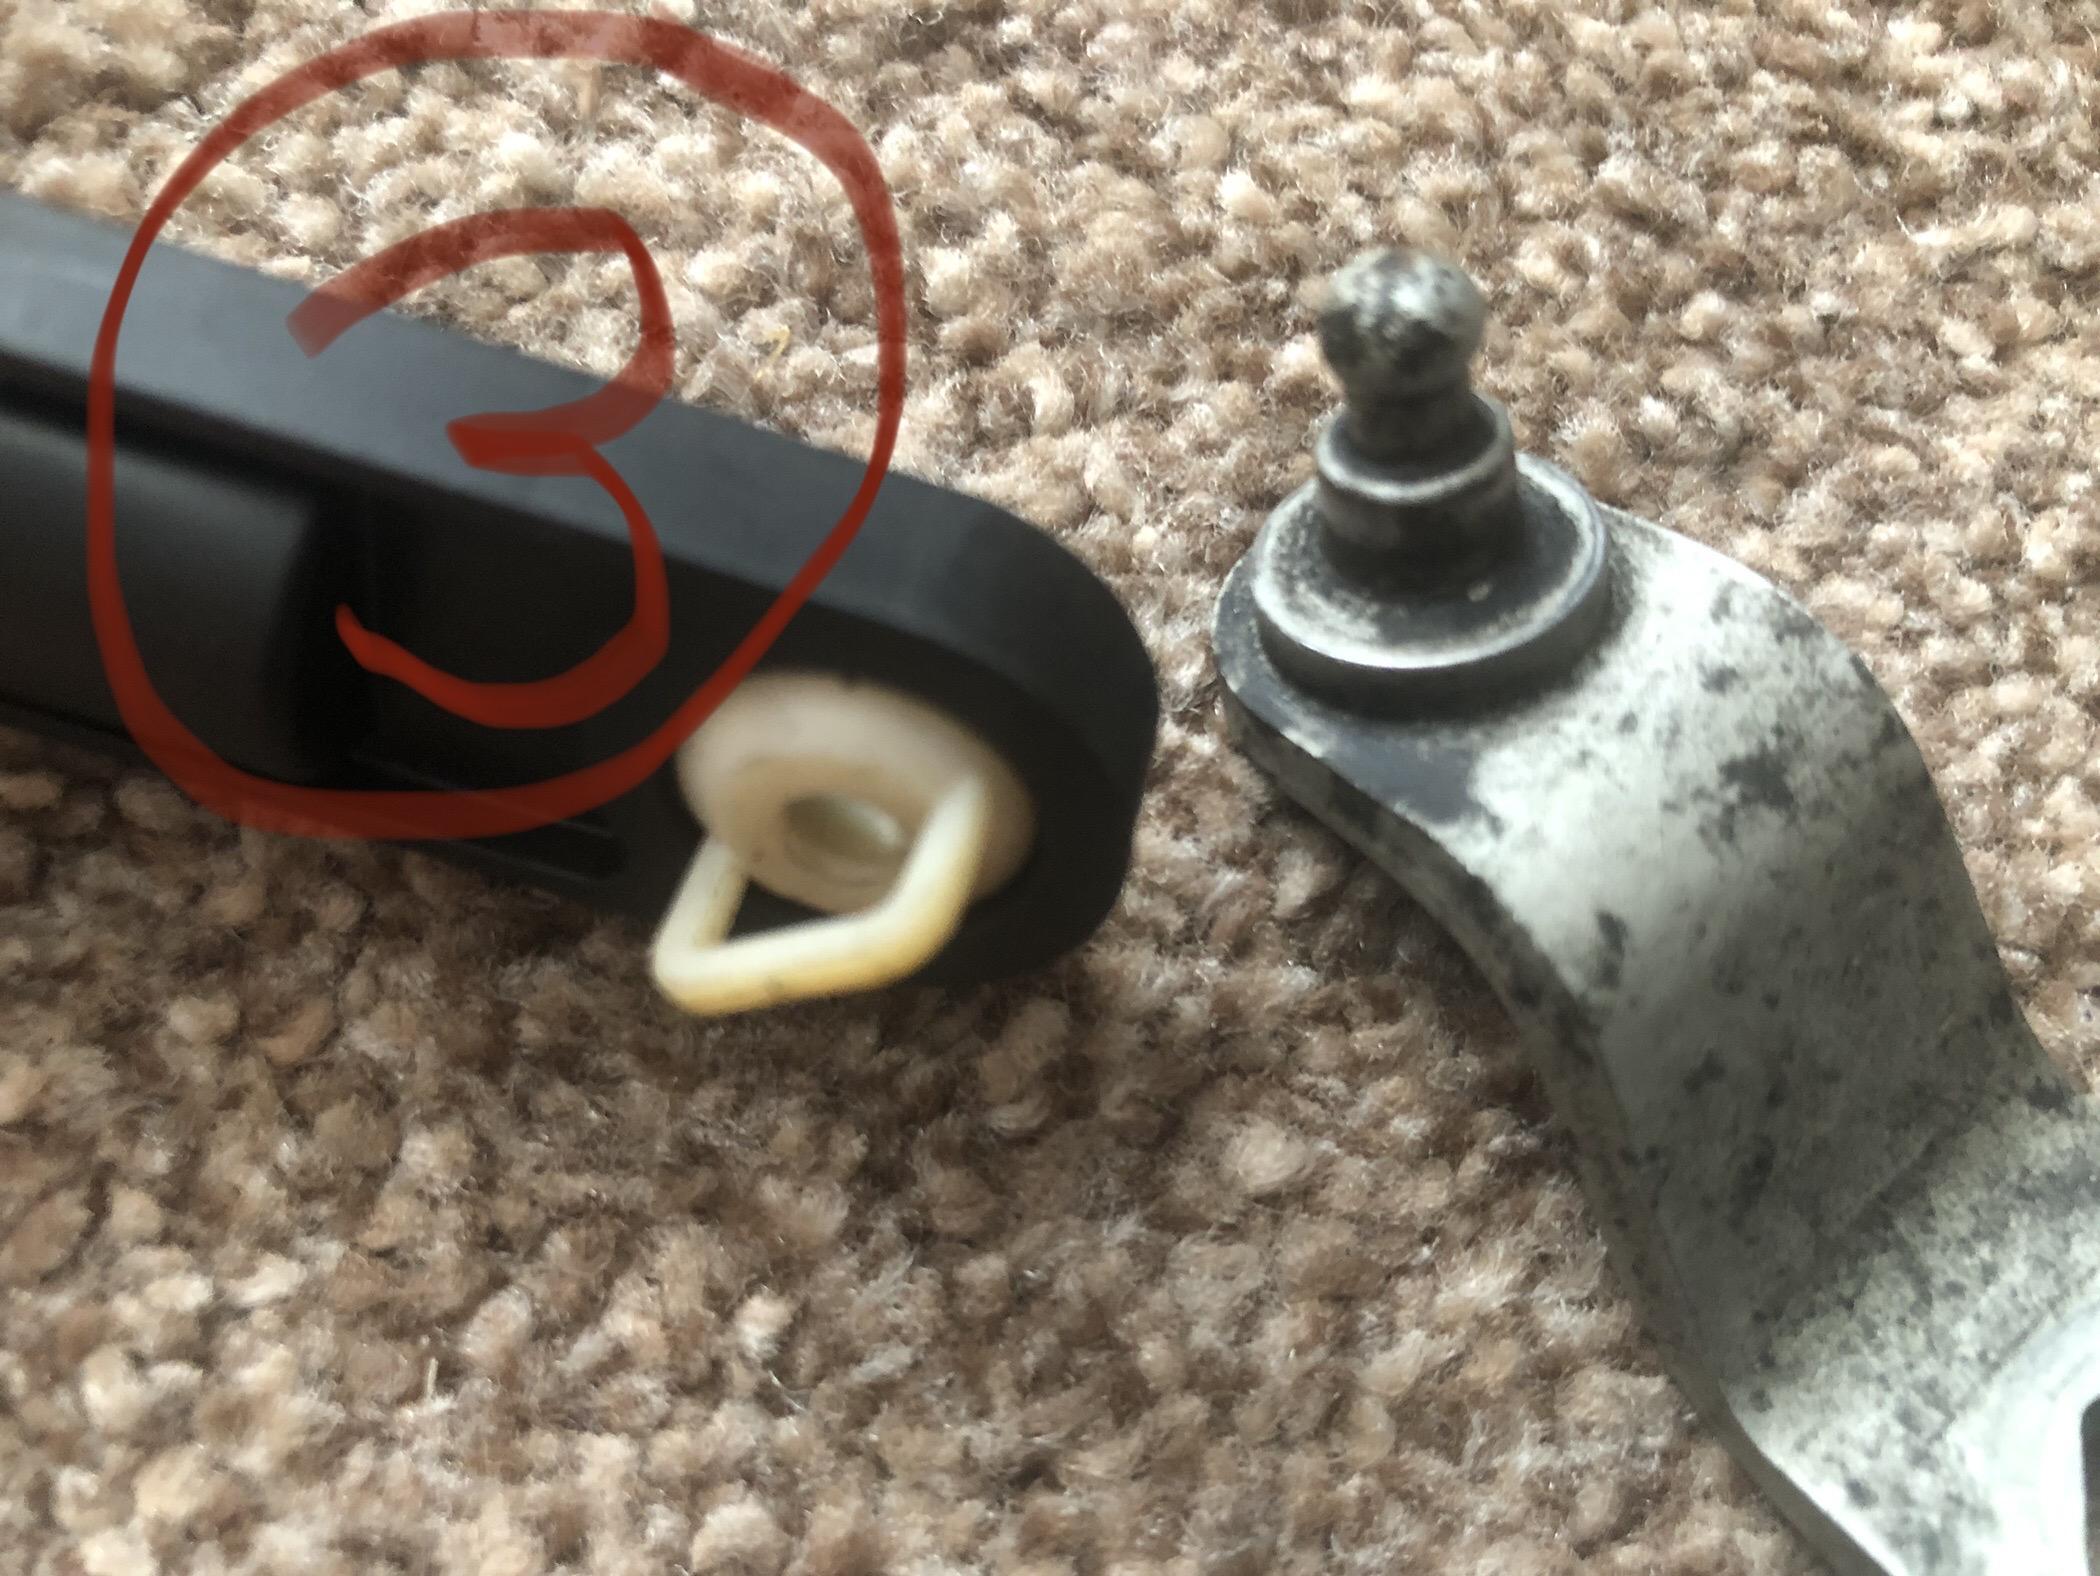
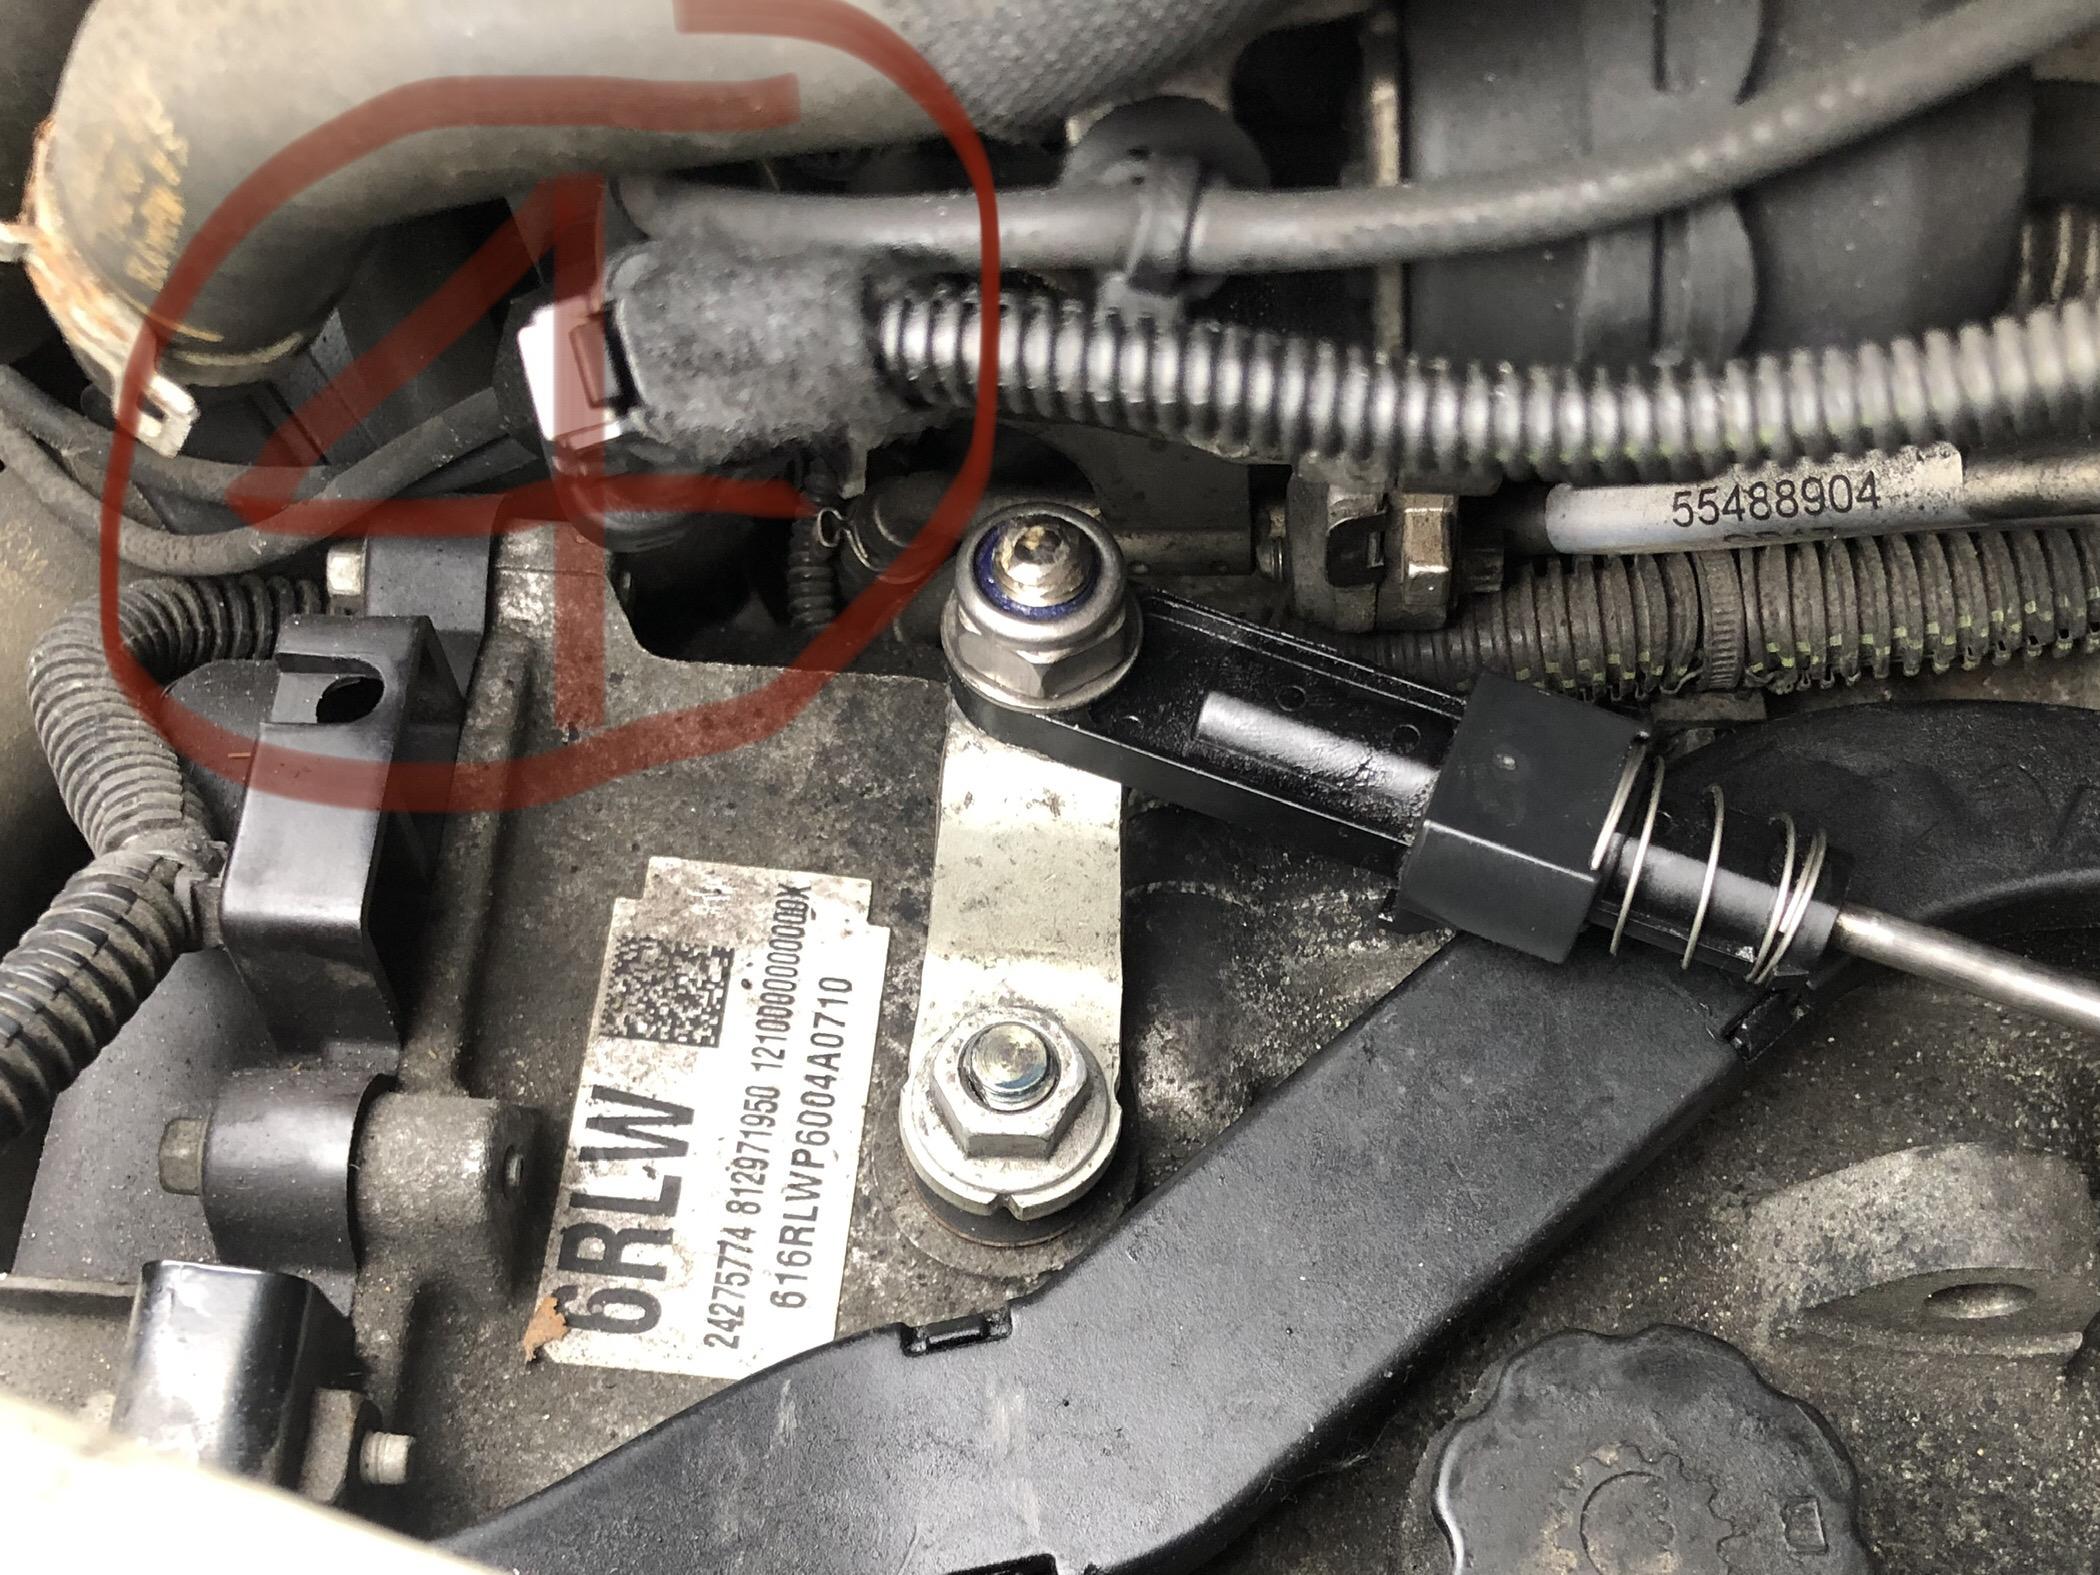
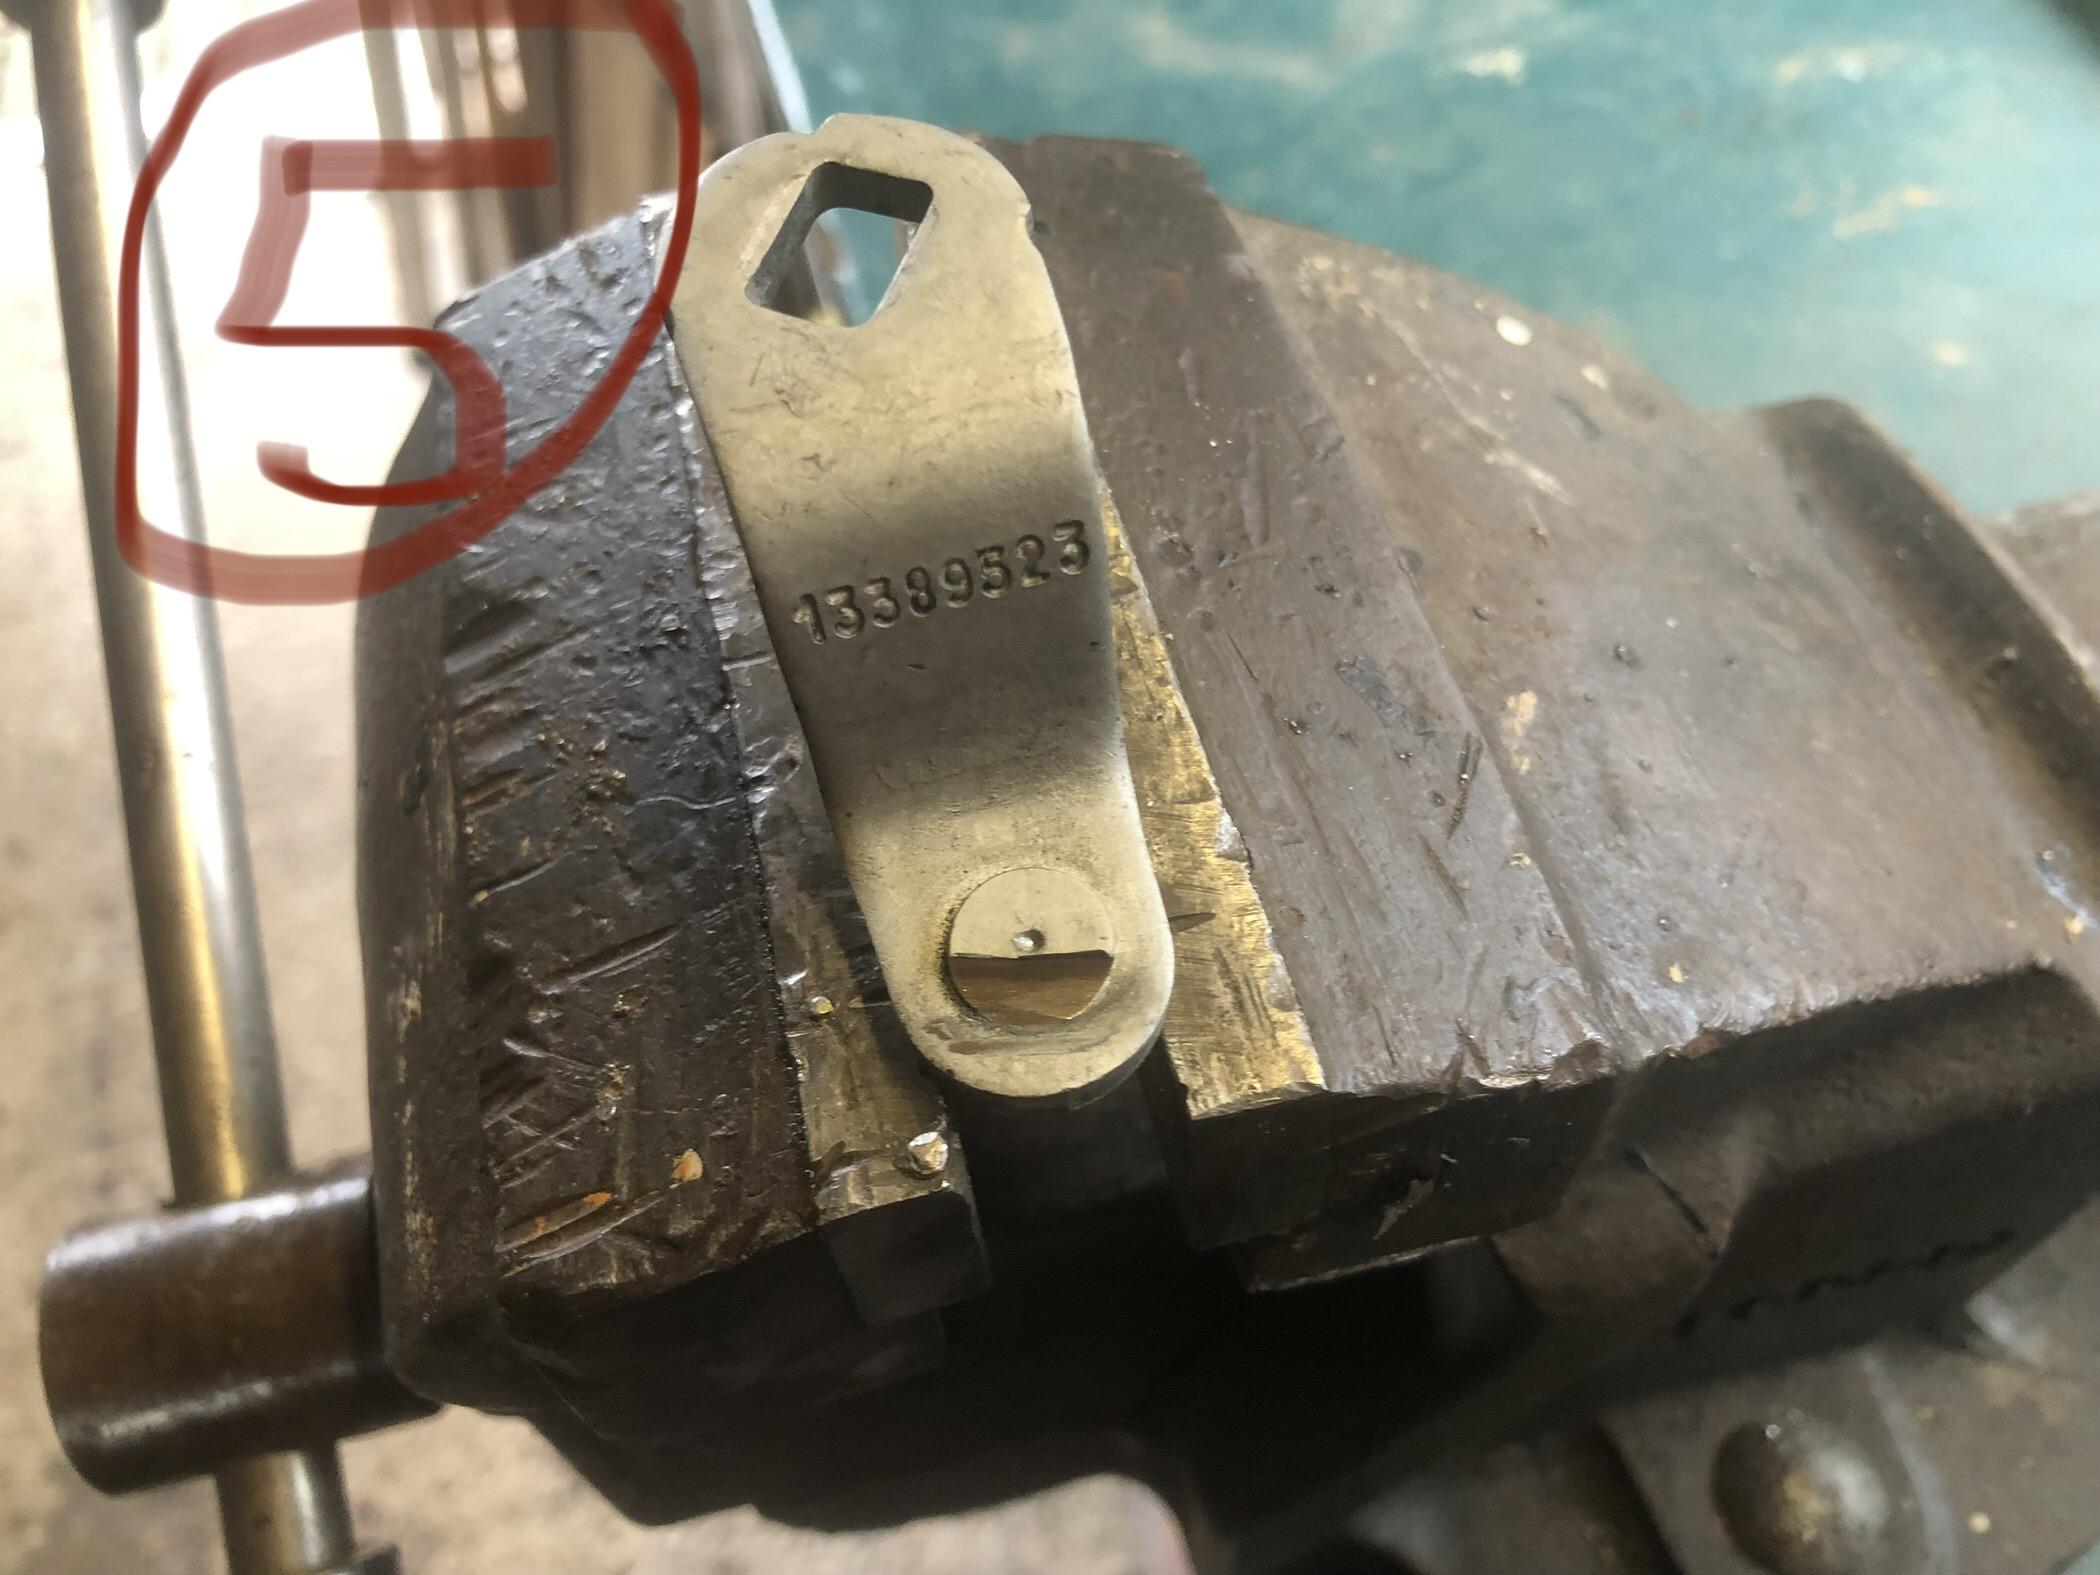
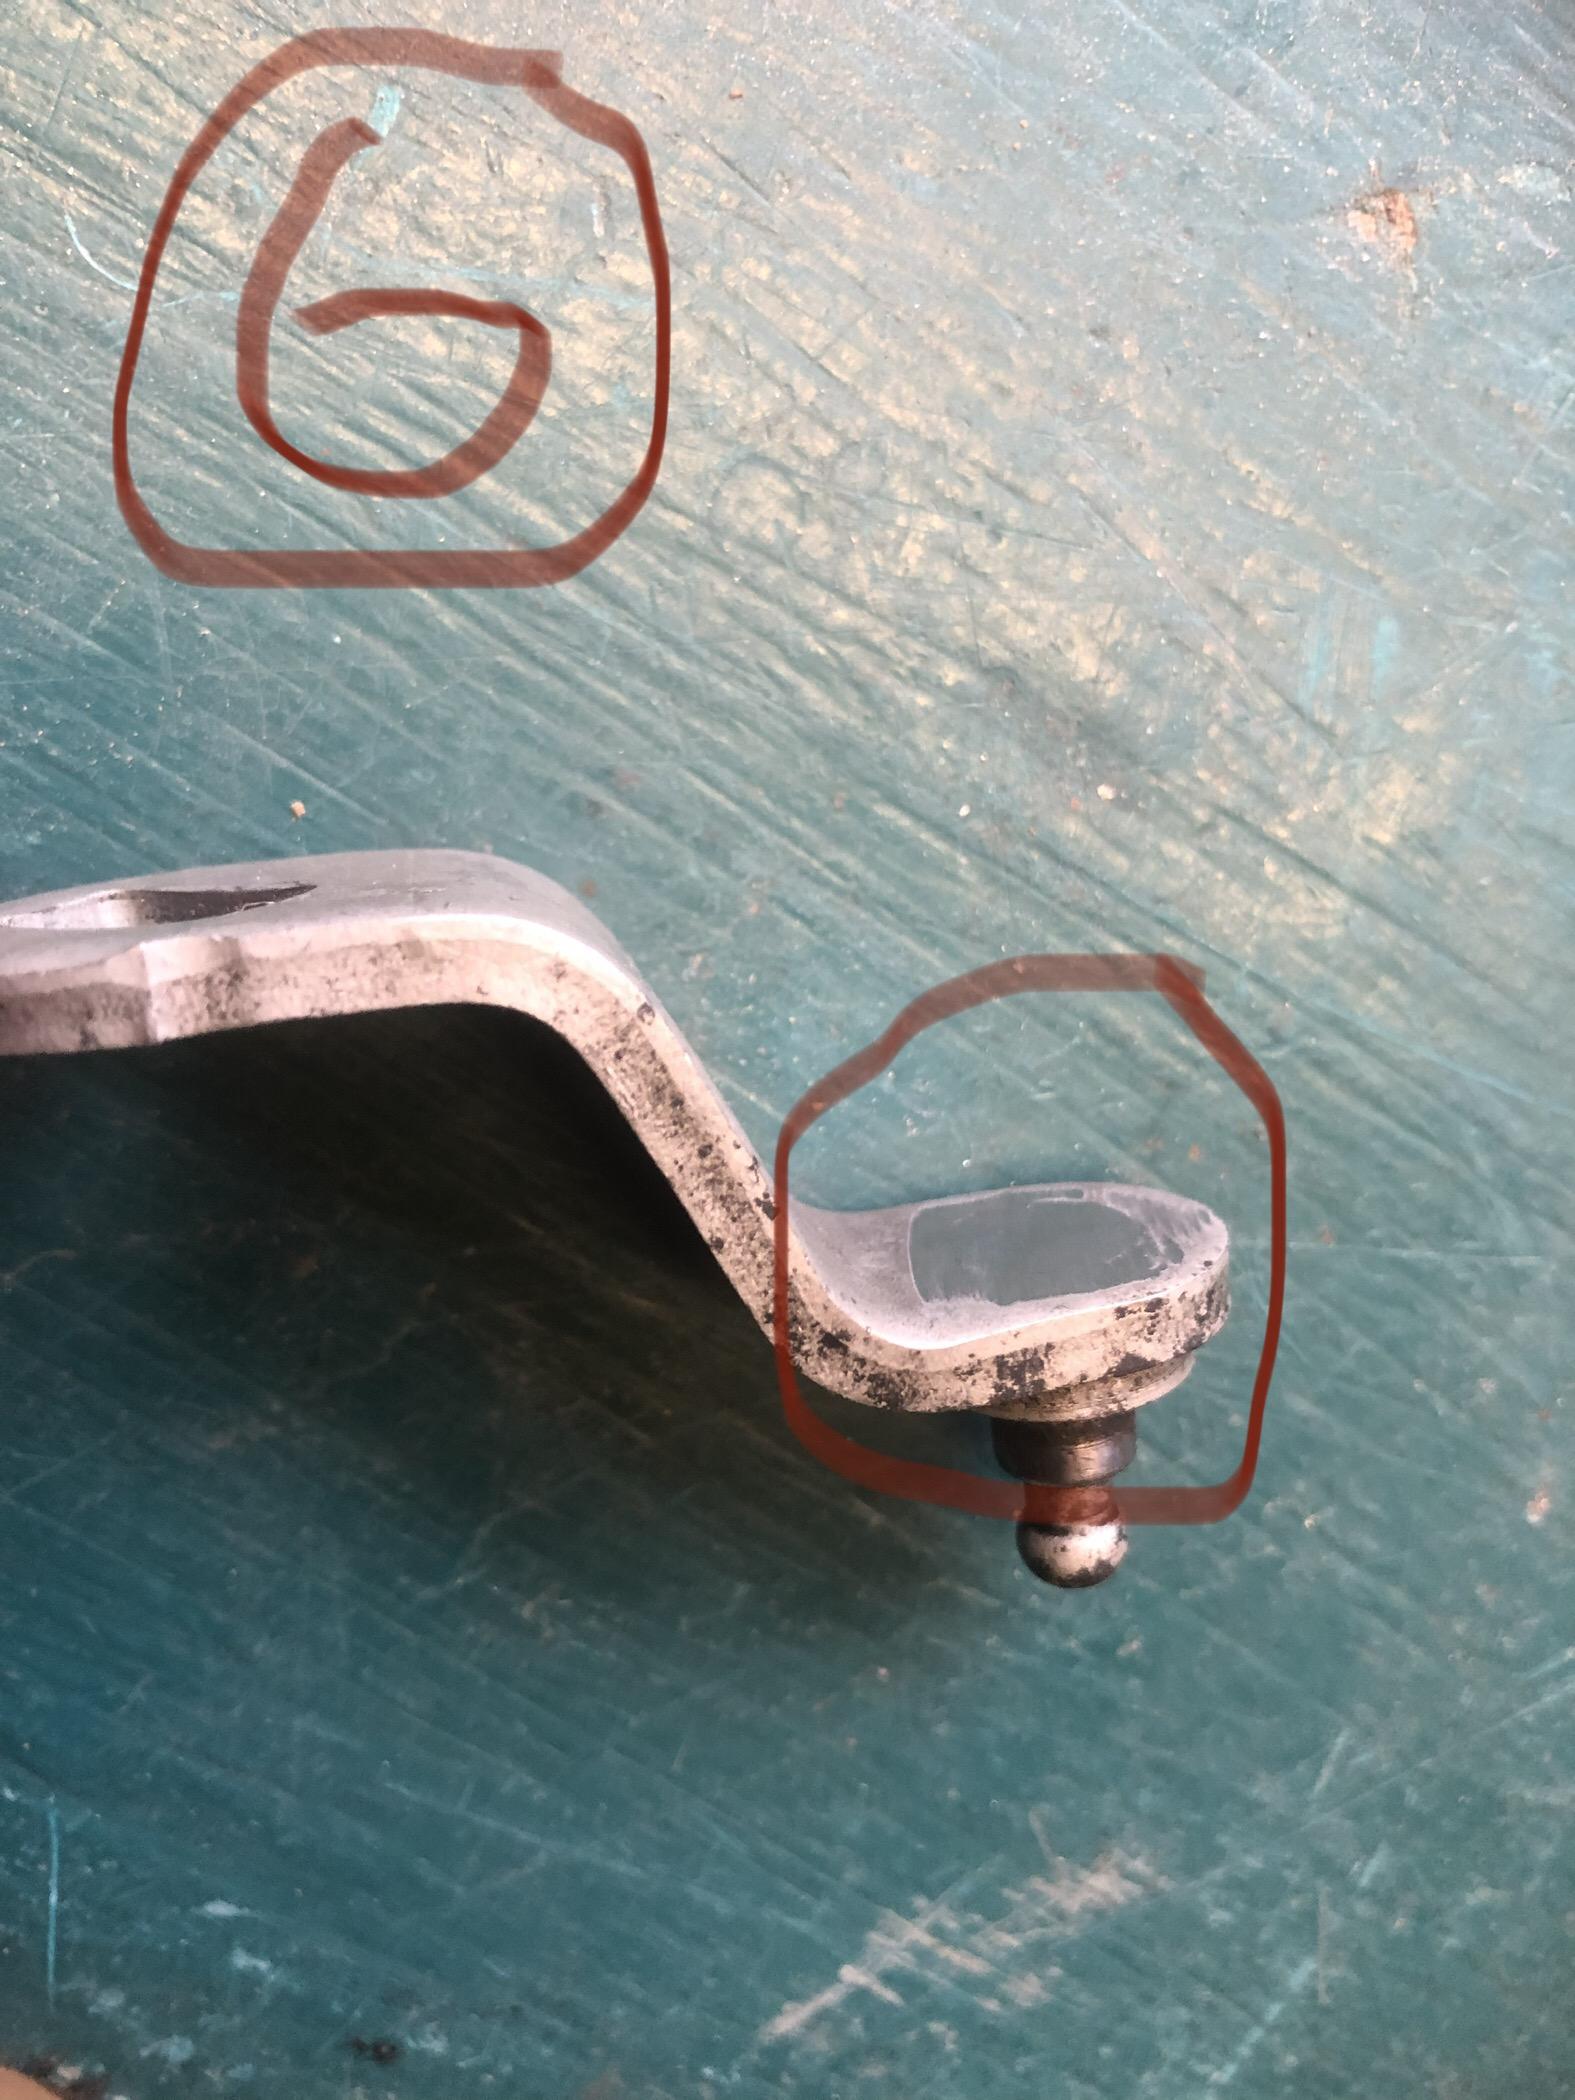
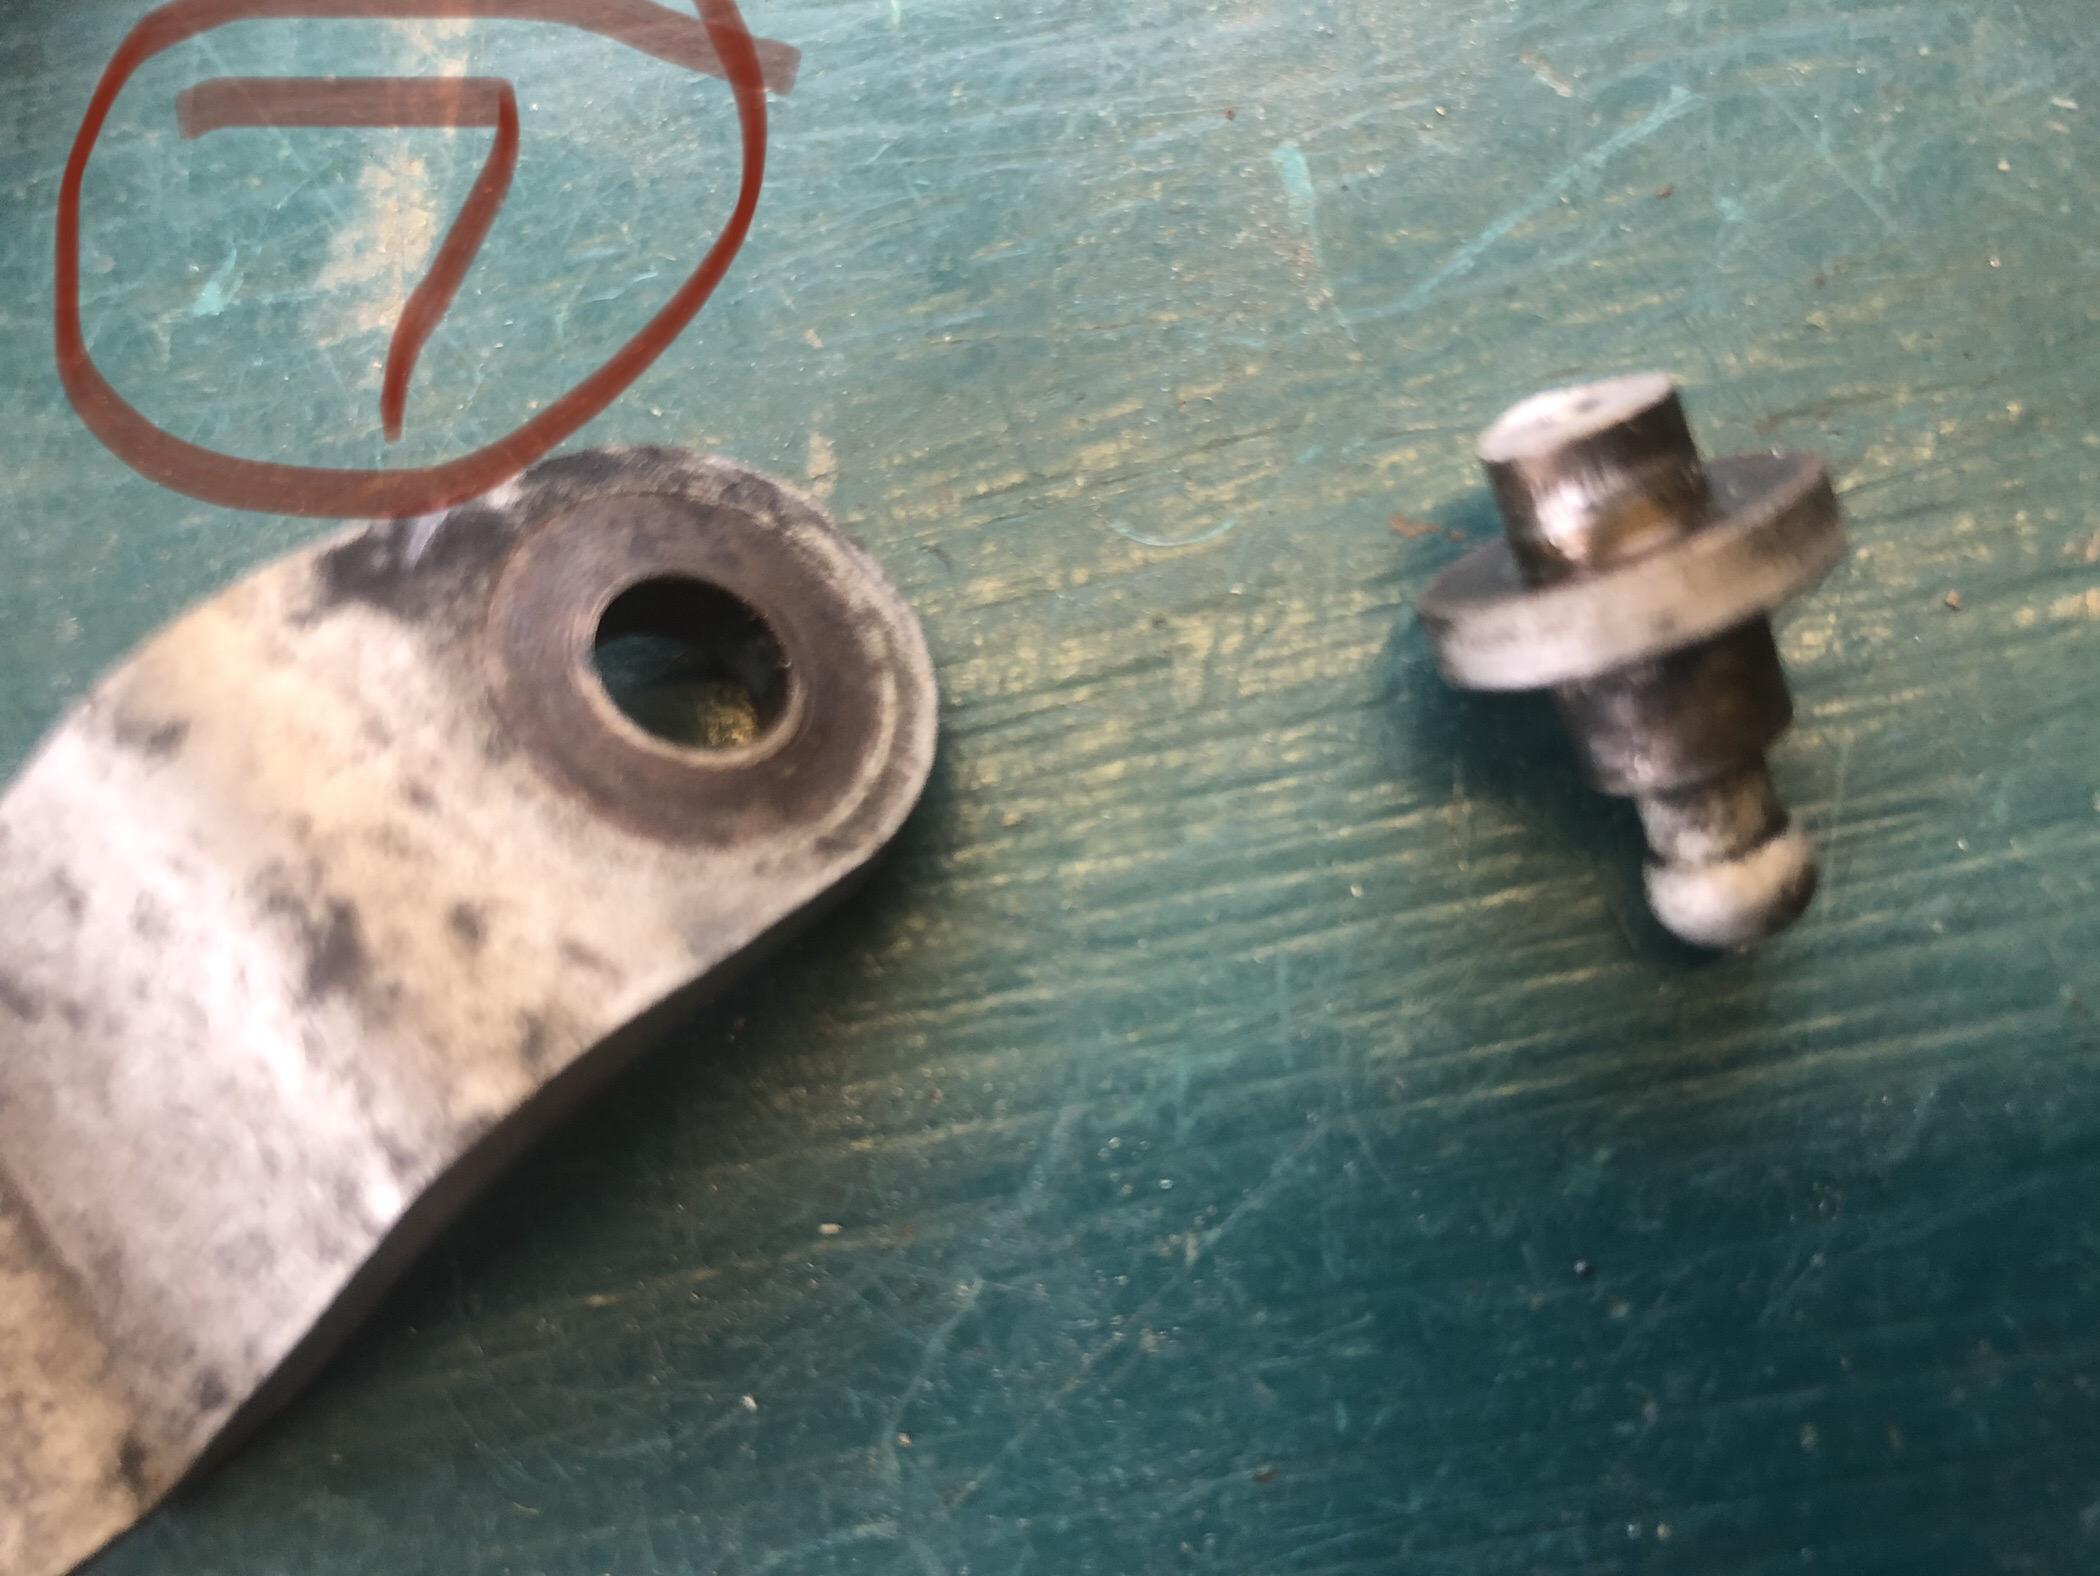
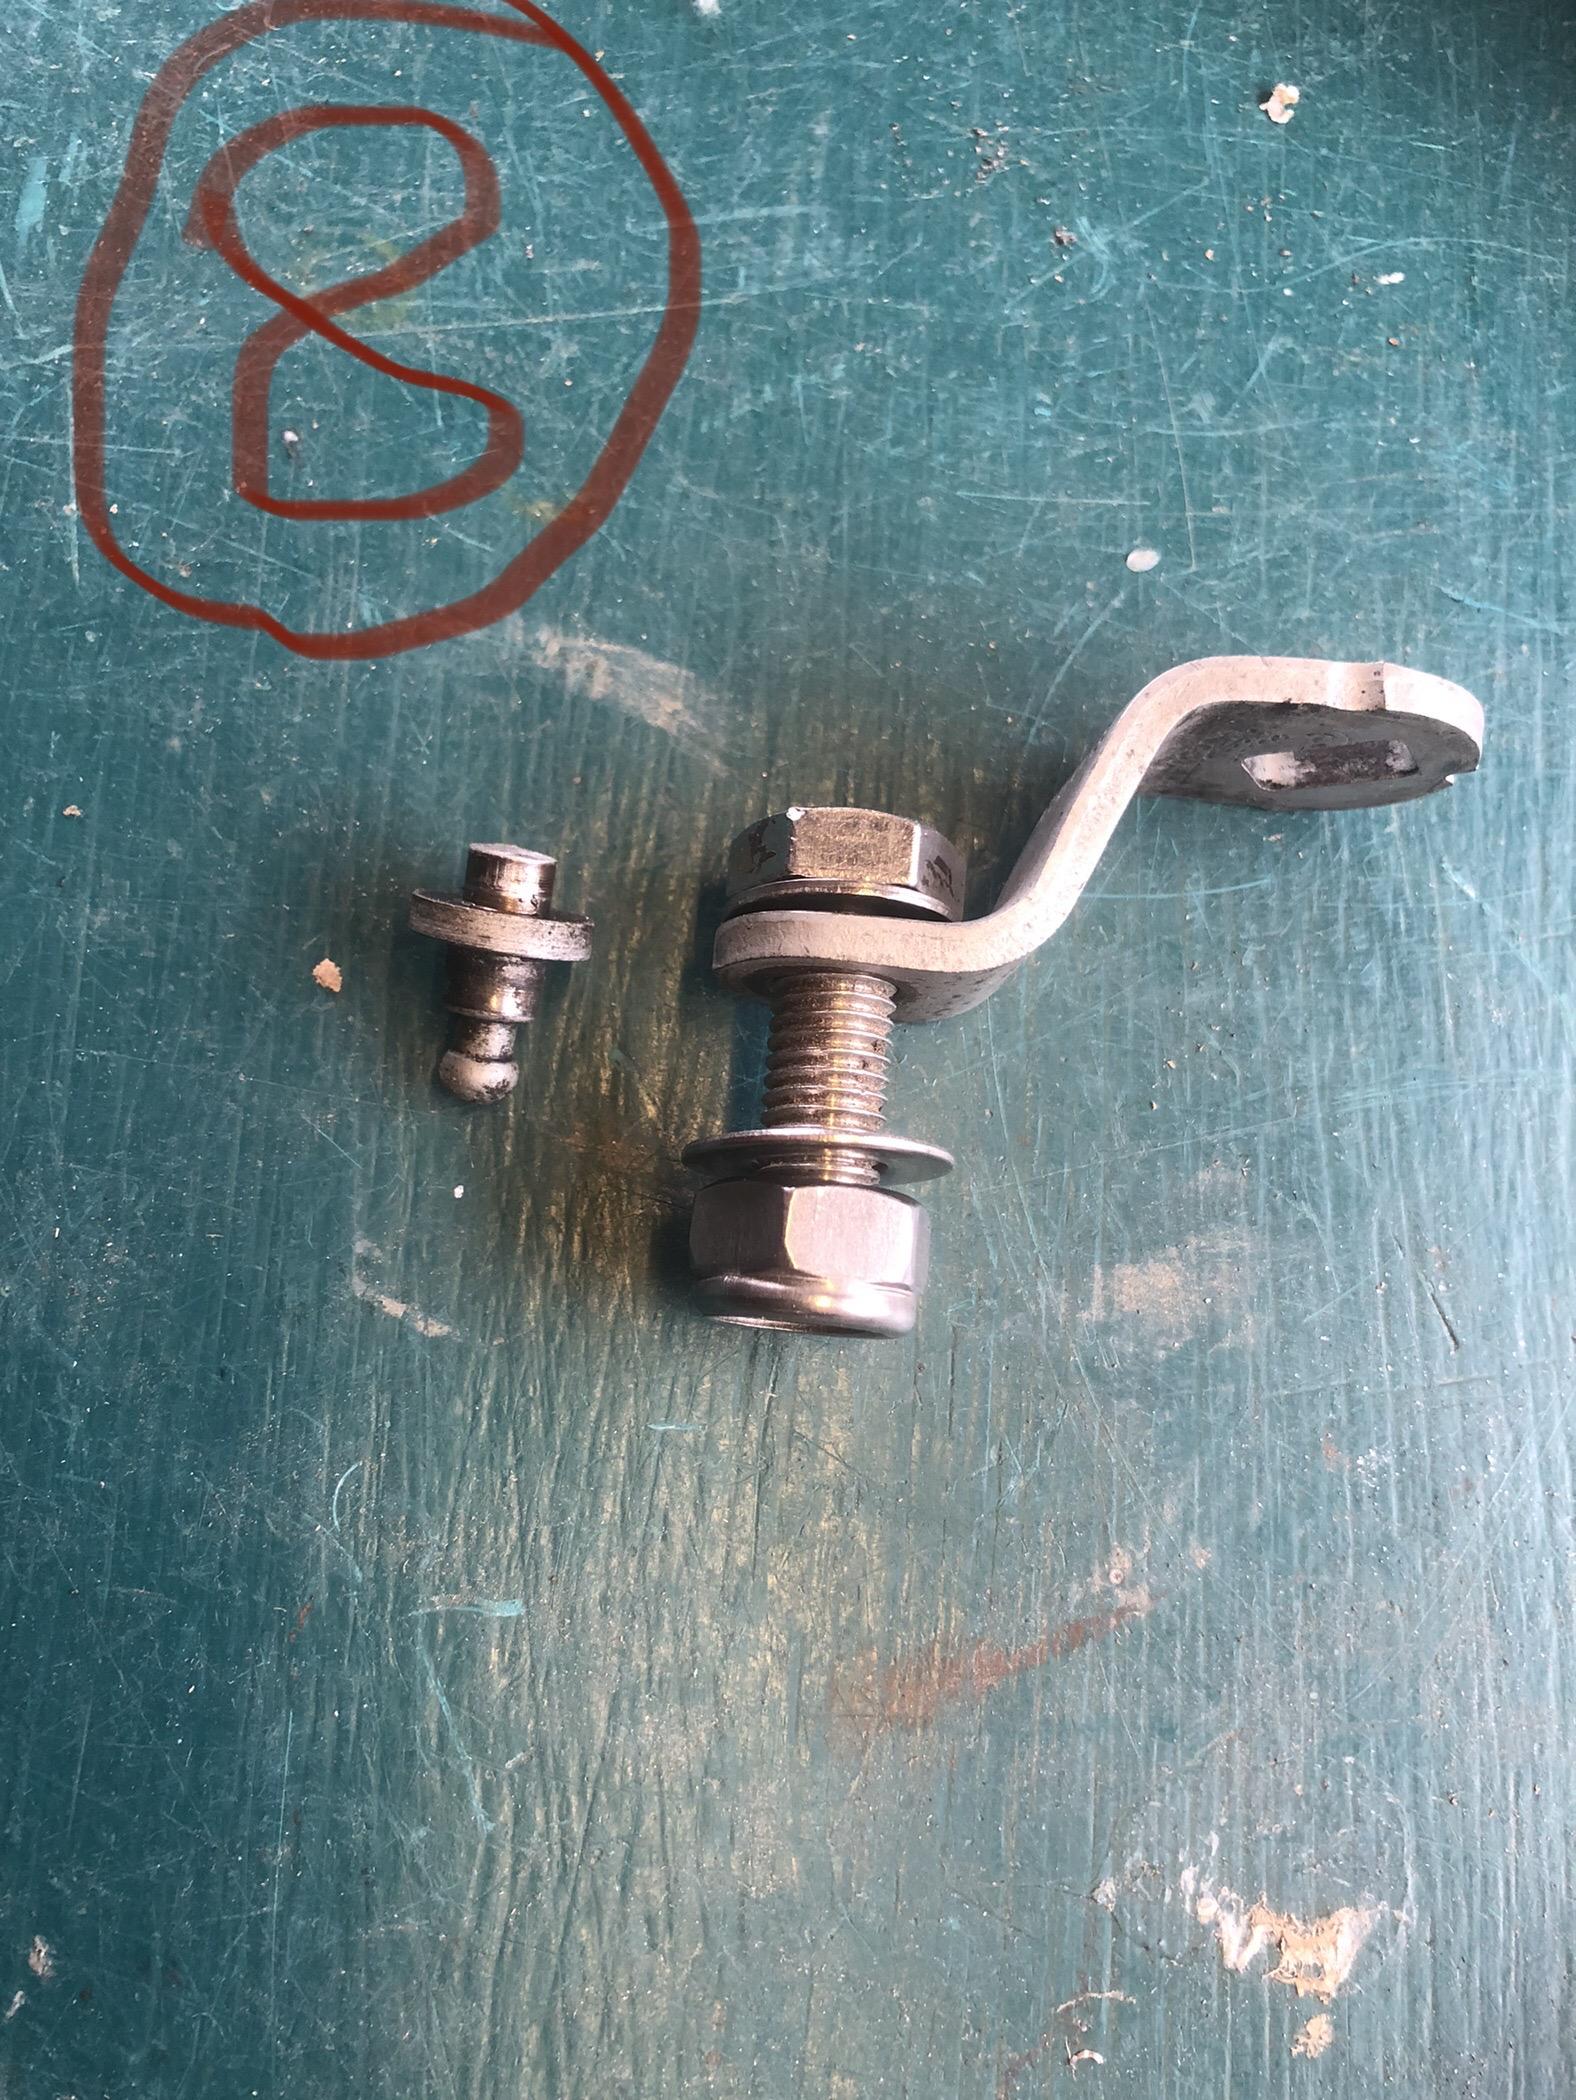
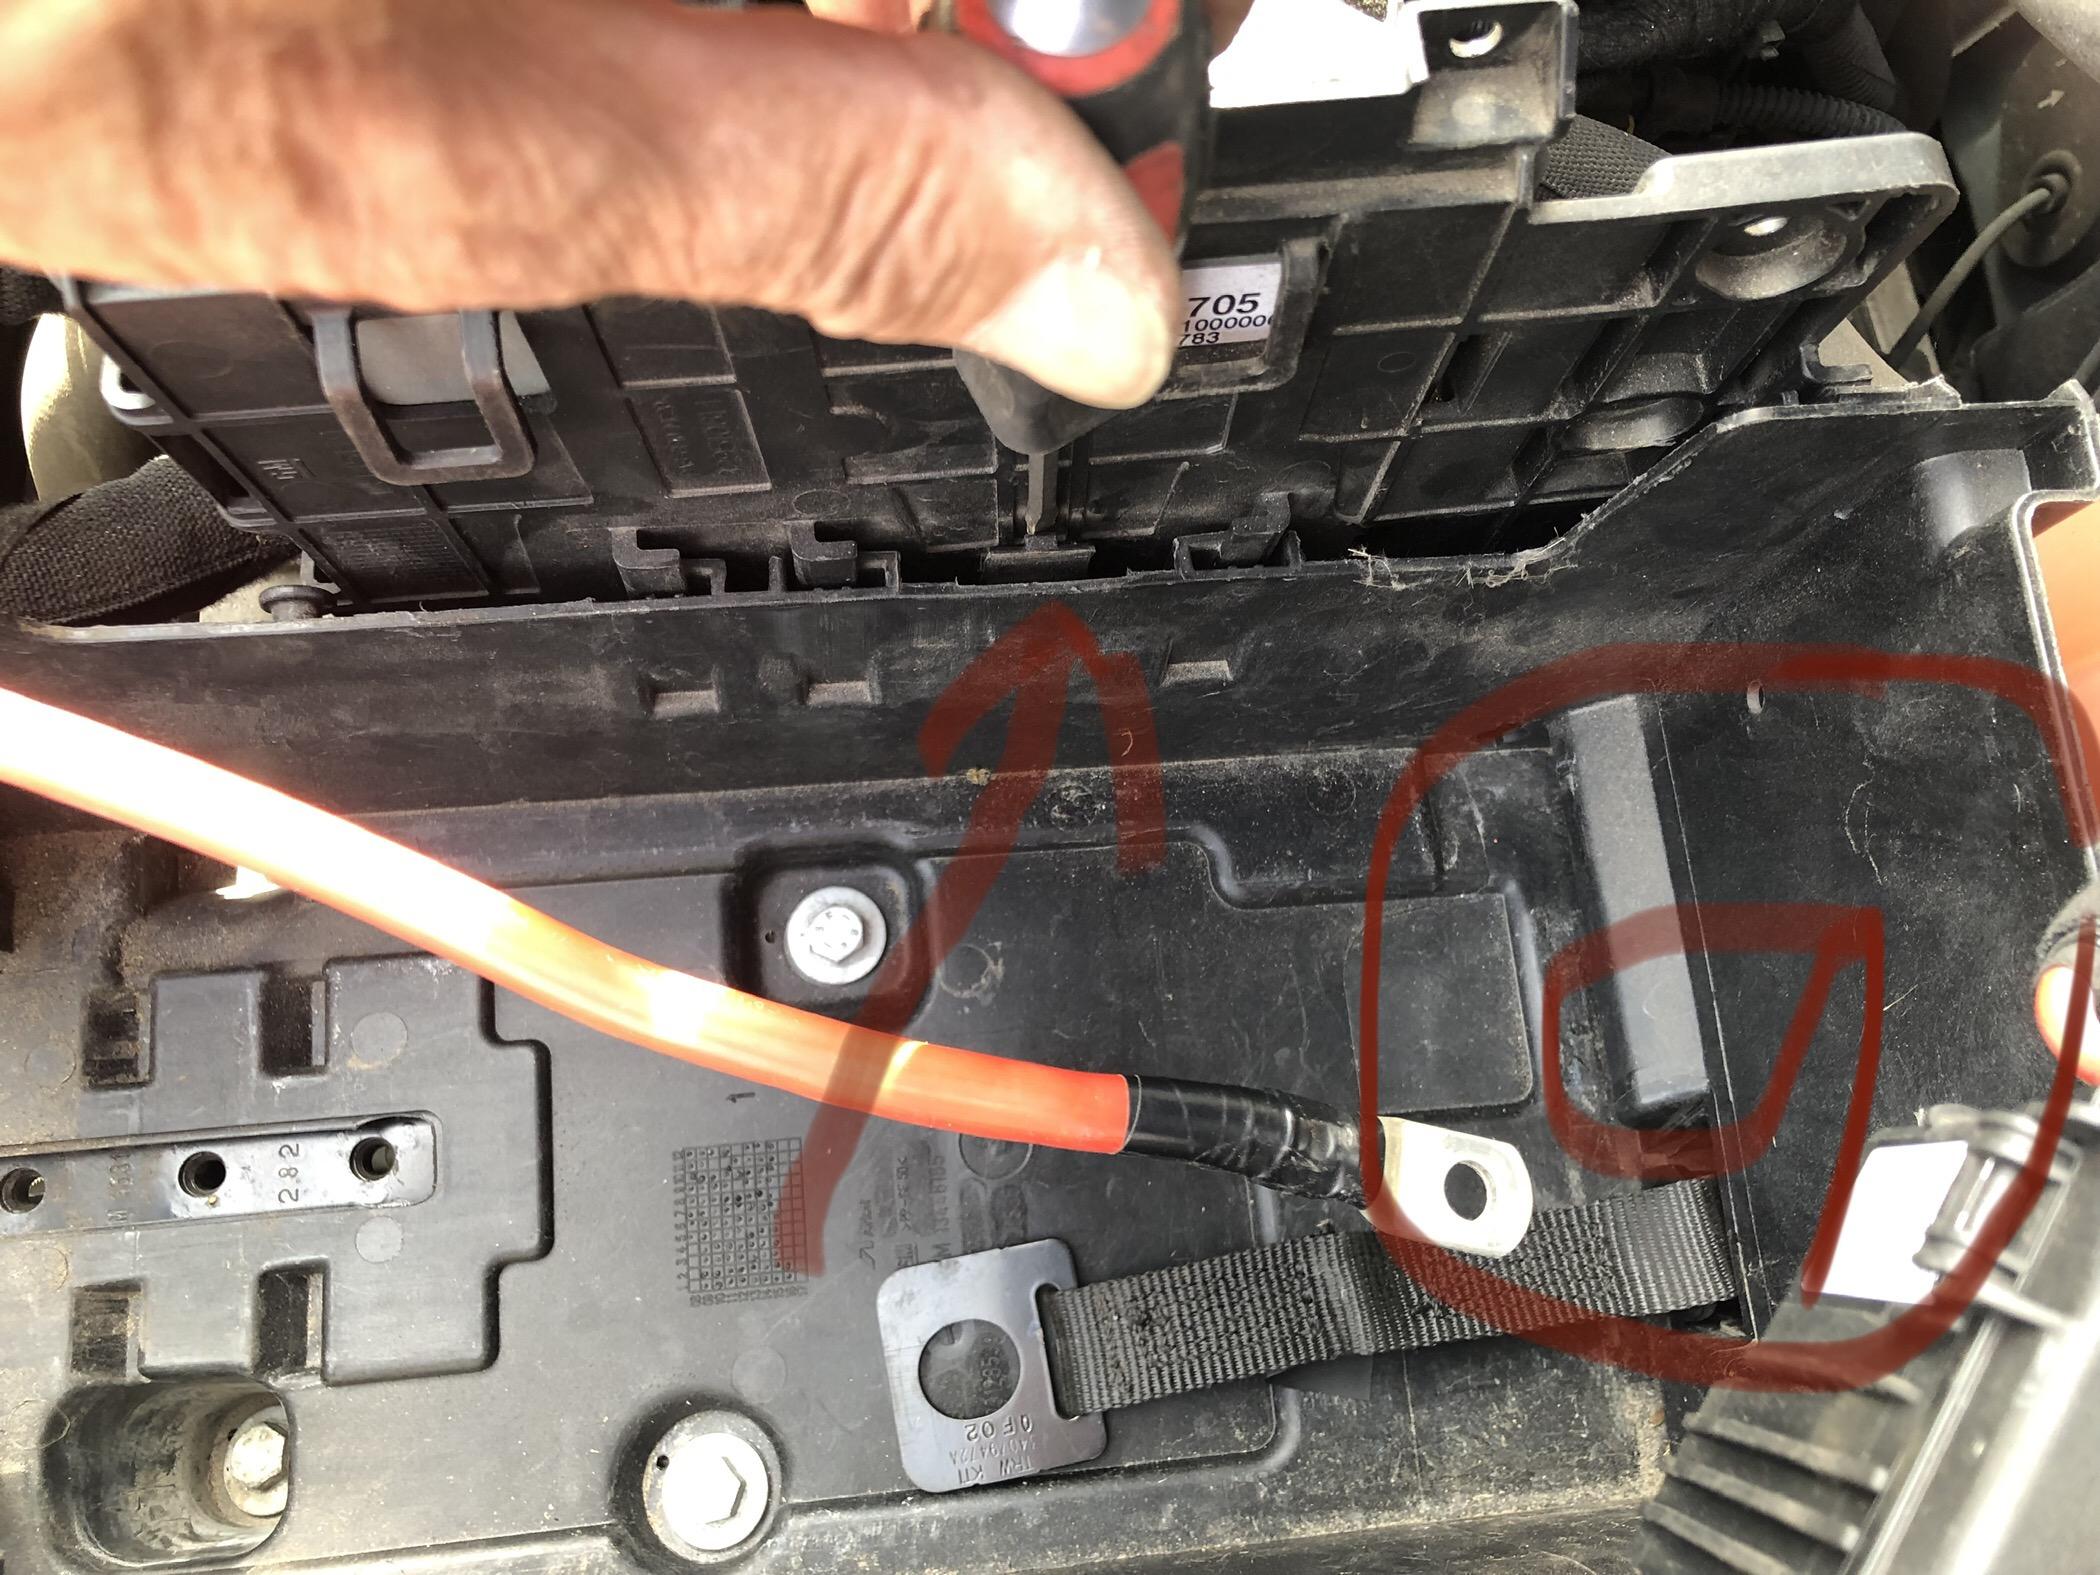
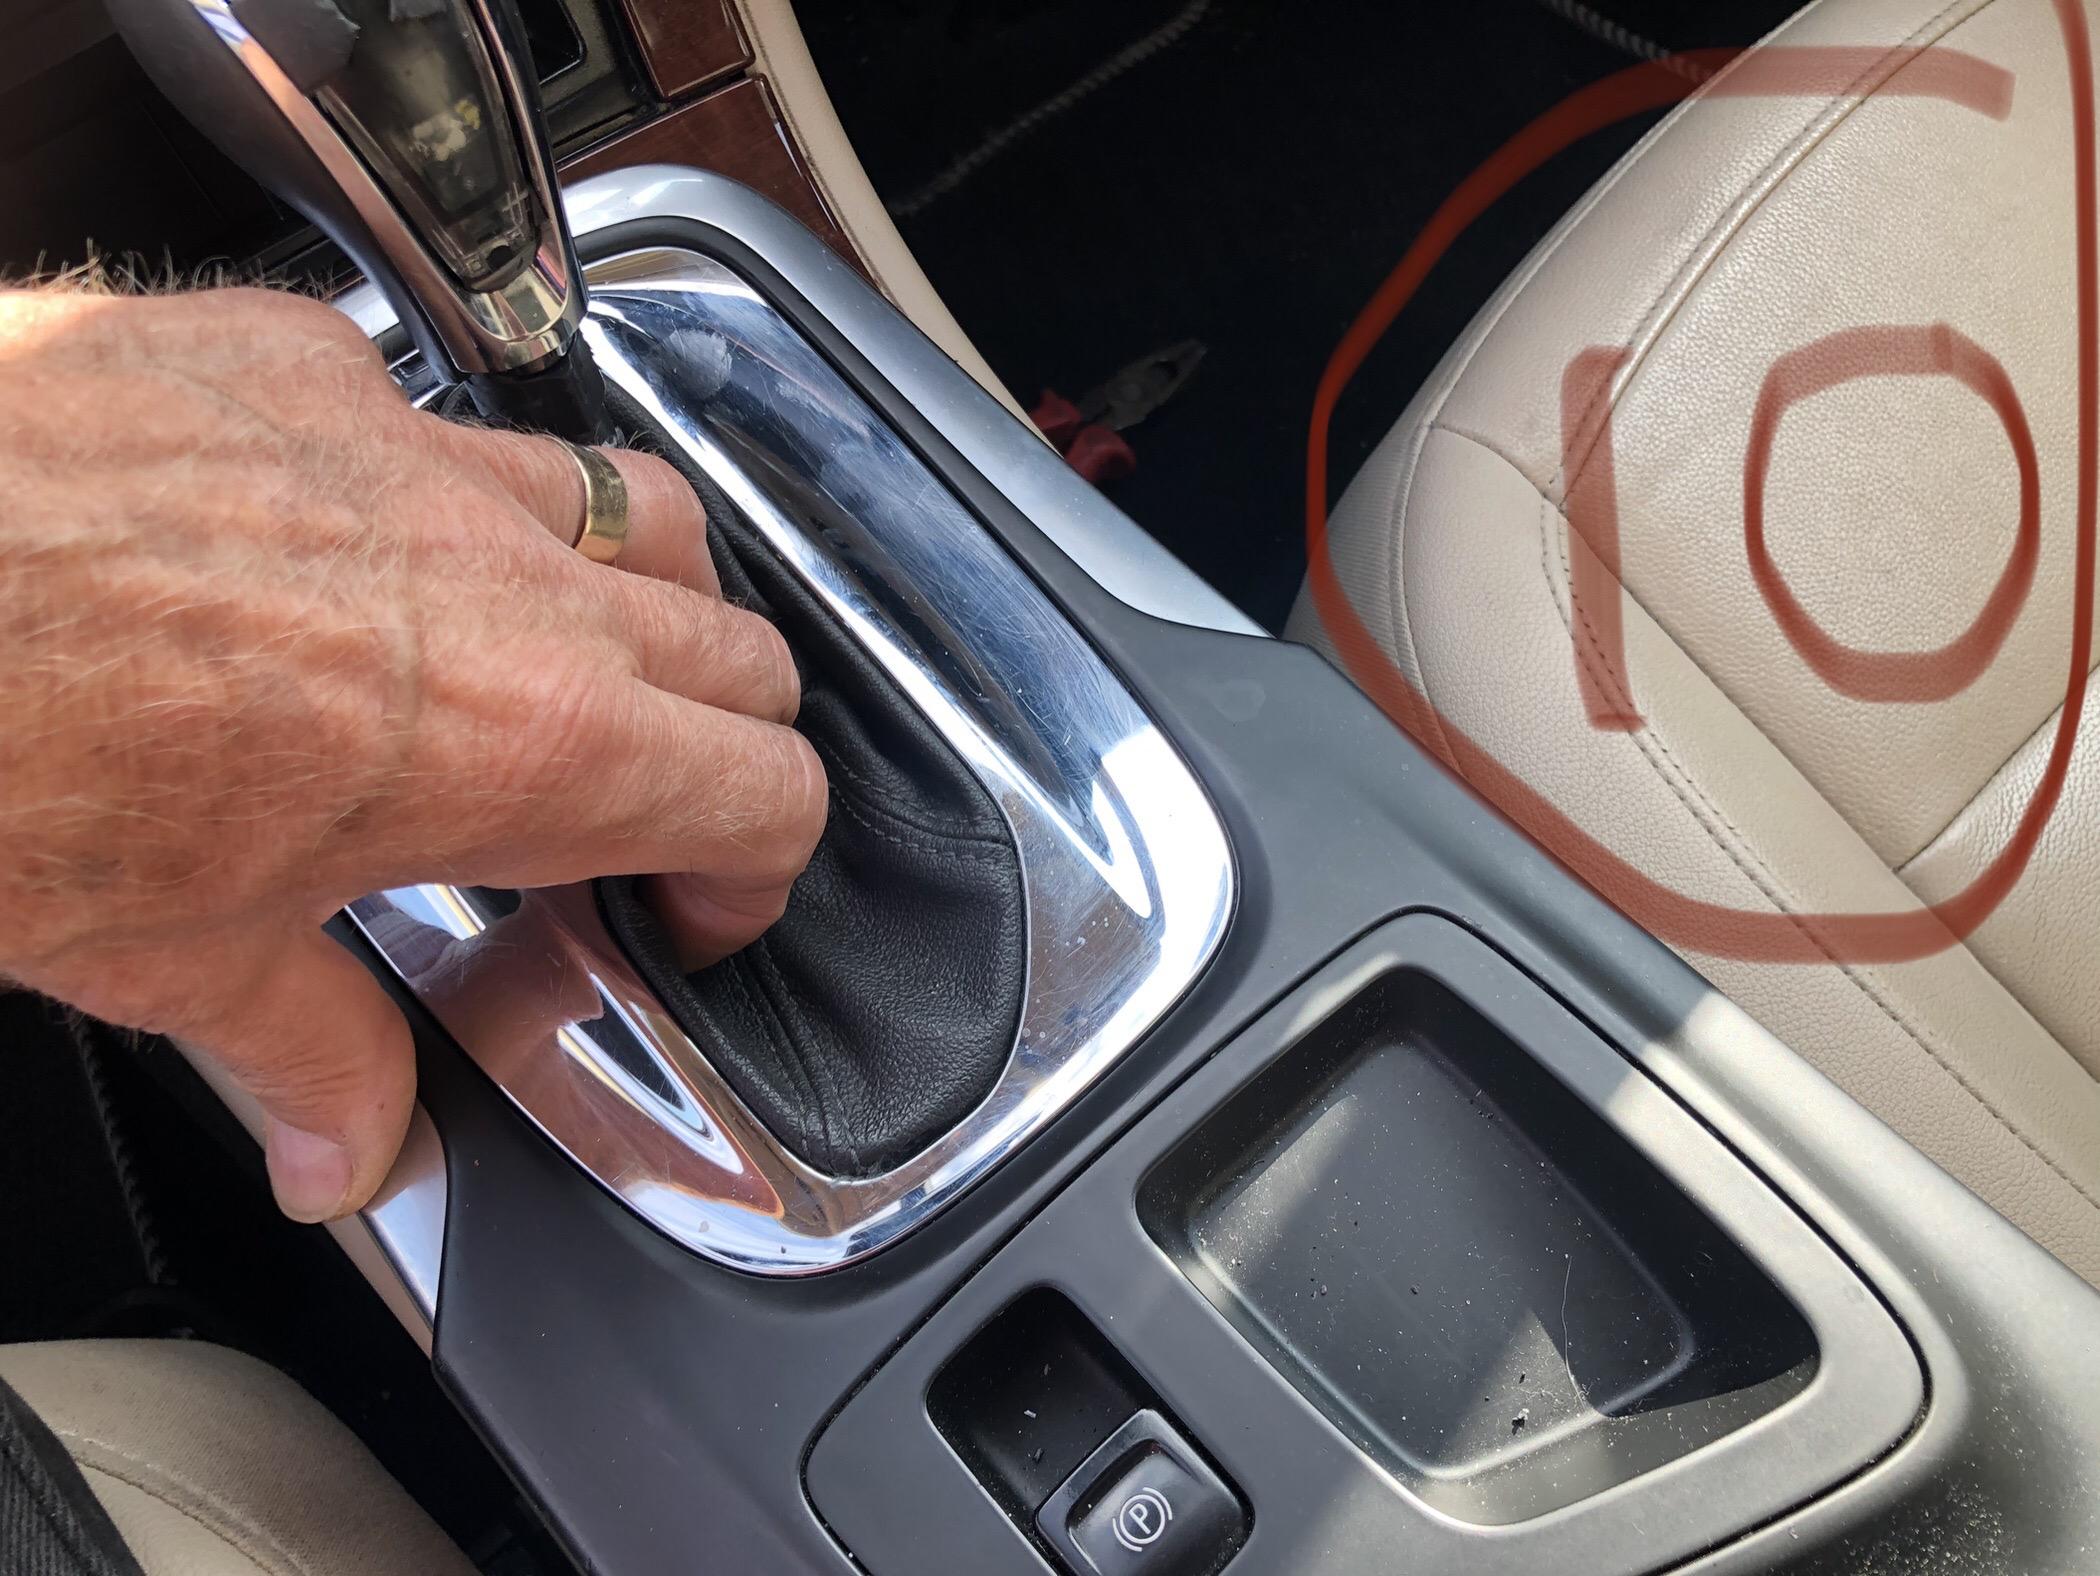
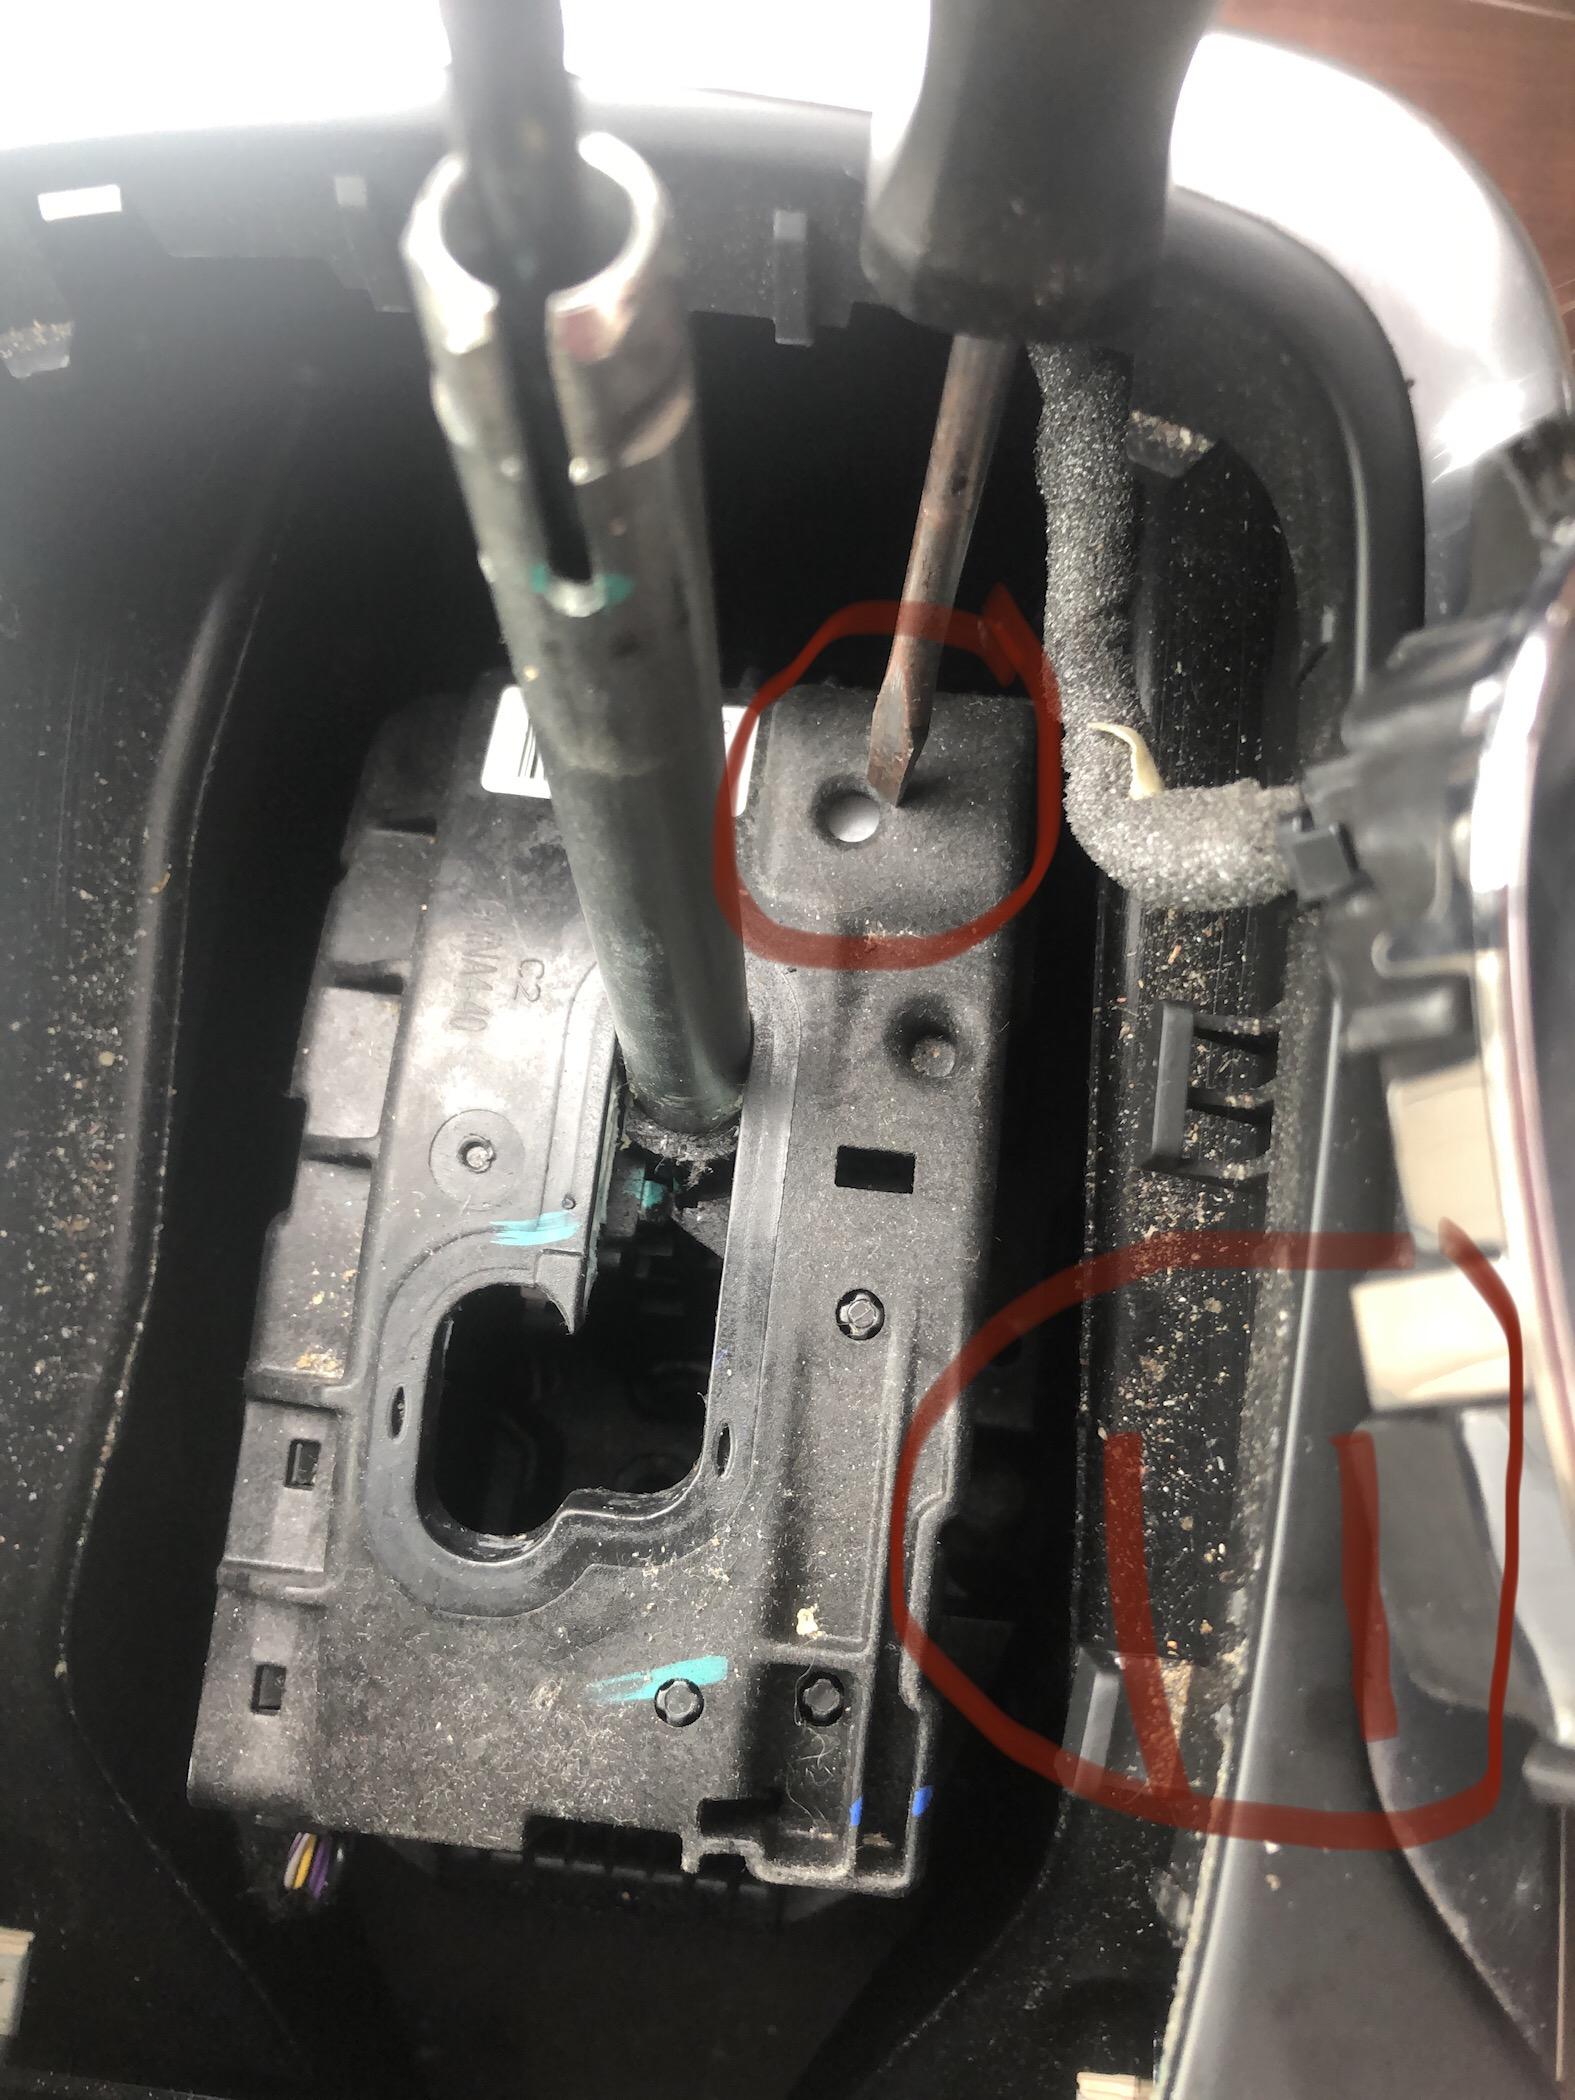
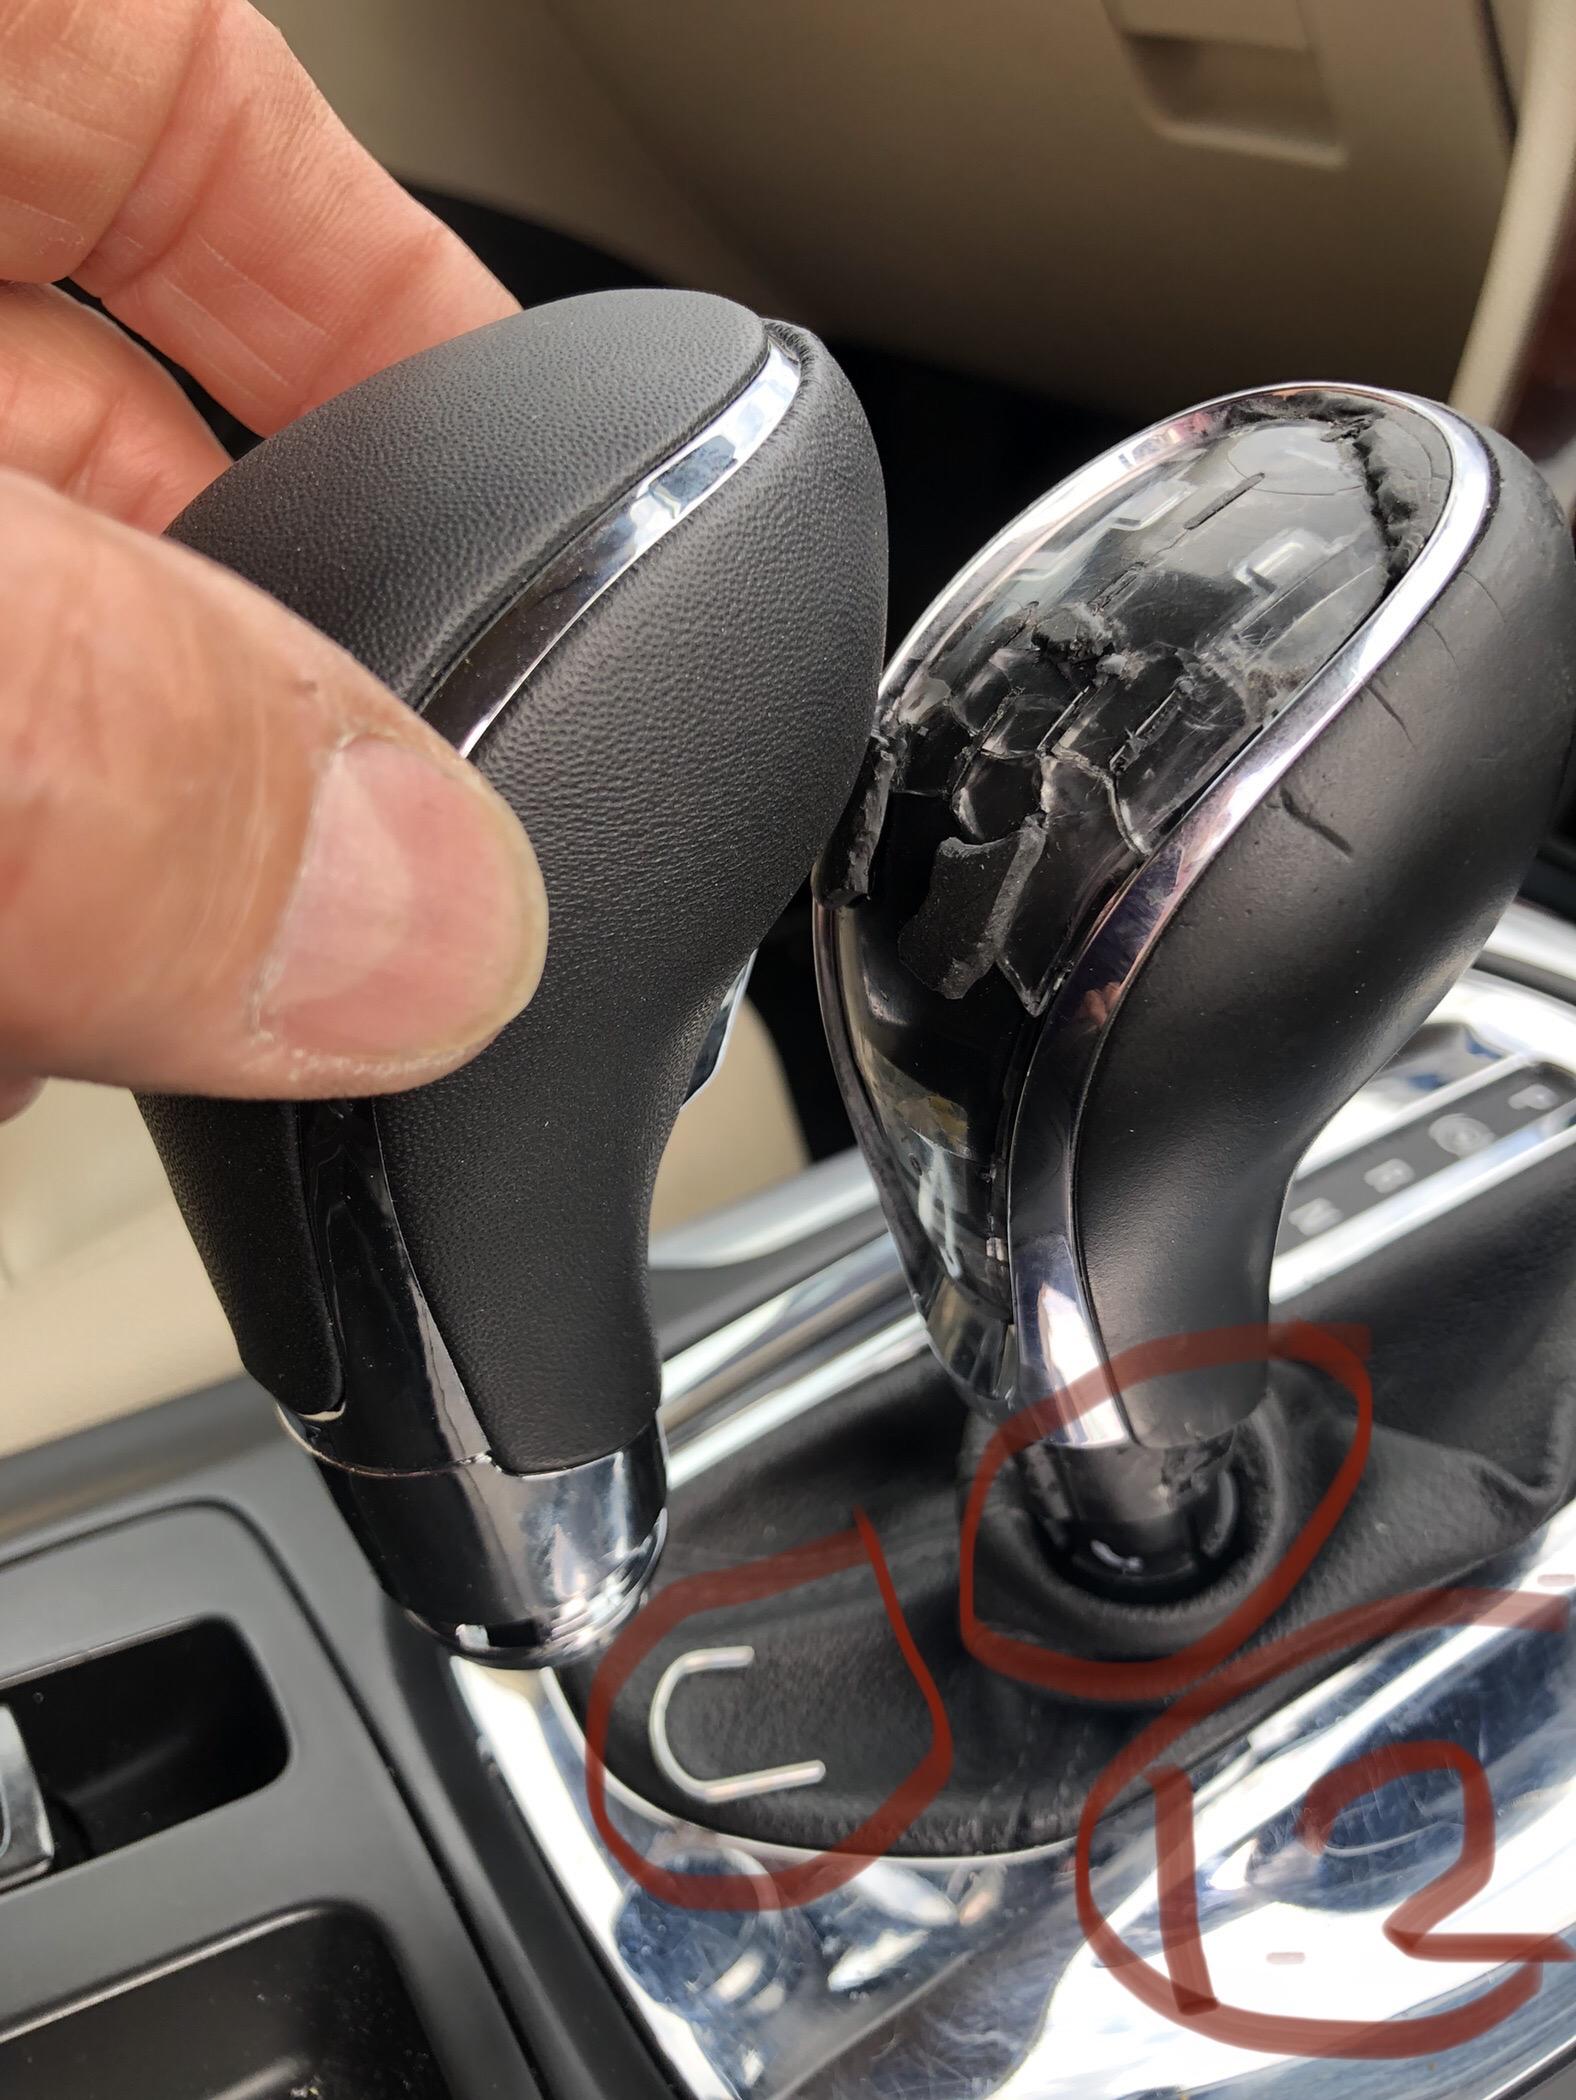
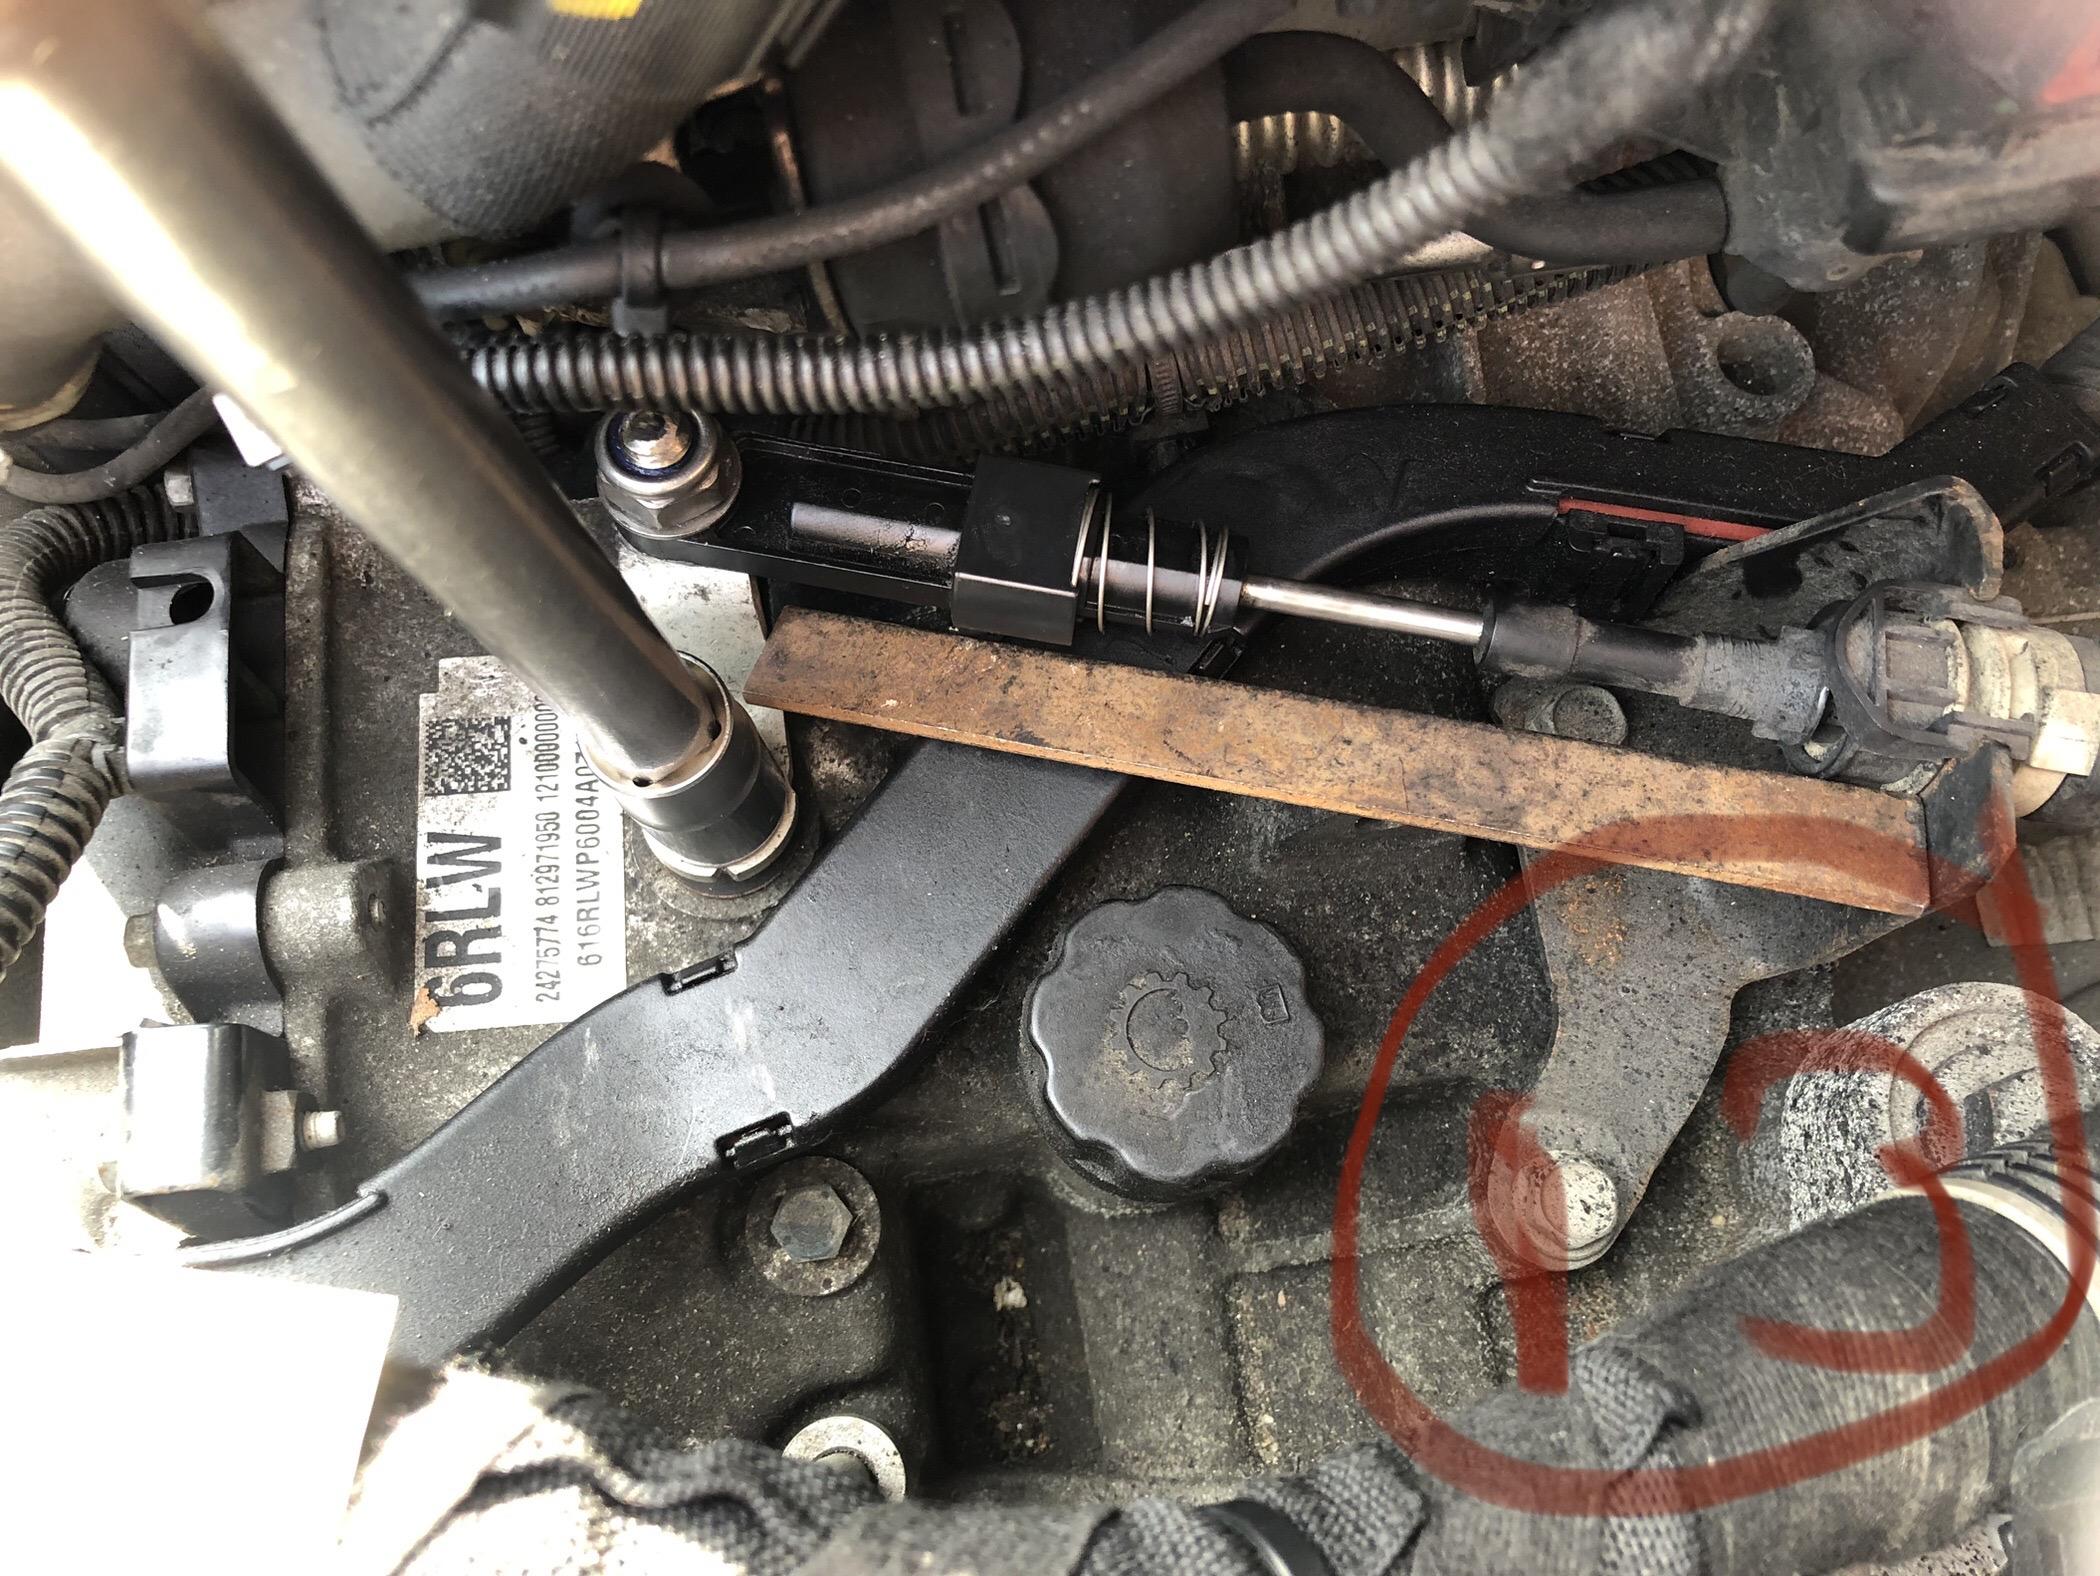
Last week on a long drive home my car suddenly lost all drive. ( imagine that on a smart motorway ). I then realised car had slipped into neutral on its own. Managed to get home by tightly holding gear lever into Drive position but car trying to get in neutral all the time. When home looked under bonnet and could just see where gear change cable connects to gearbox. It was disconnected due to a plastic BALL JOINT that was broken and completely missing. The cable end with the missing ball joint had just a 10mm hole left. ( photo 1 ) Purchased new cable and found the missing ball connecter was just a small piece of plastic ( photo 2 and 3 ). This part could easily be removed and fitted in original cable. To fit the new cable the centre console inside the car has to be removed. This would be a very long job and would probably cause damage to the unmarked interior of my car so decided NOT TO FIT NEW CABLE. This so called ball joint is a very weak Micky Mouse connection so decided to make a simple stronger modification ( photo 4 ). Note : The nut on photo 4 must be NYLOC type and adjusted so joint can move, use a bit of grease. To do this modification APPLY ELECTRONIC BRAKE, DO NOT FORGET TO DO THIS. Then remove battery and battery box. The cars engine management computer can be lifted up by releasing ONE clip ( photo 9 ) with a screwdriver. No need to pull hard on this it’s very easy after you have found the clip see photos. Also note 4 sliders to hold computer when refitting. DO NOT unplug any computer plugs. Follow photos ( 5 to 8 ). Unbolt bracket and cut off metal ball using angle grinder ( this ball is very hard so CANNOT USE DRILL ). Once back of ball has been ground off just hammer out with punch. The bracket can then be drilled out 10mm dia. Useful knowledge learnt . Photo 10- To remove gear lever cover just pull from this position. Photo 11- To unlock parking lock ( P ) with dead battery press down with nail or screwdriver then move gear lever. Photo 12- Gear lever knob has to be broken to remove holding pin clip. Just break silver plastic at bottom of knob and pull out clip. New lever just pushes on. Photo 13- Put gear lever in P park position and use 6.5 inch long metal rod or wood to avoid damage to gearbox selector switch when tightening bracket nut. Maybe not necessary but don’t know how switch end stop works inside gearbox. When refitting battery box fit longest screw in position first before dropping box in place. Don’t forget to fit the strap to the positive terminal of the battery. This just stops the battery flying out if you hit someone head on. Maybe vauxhall should be informed of this BALL JOINT FAULT and supply just the small plastic micky mouse part free to avoid fitting the complete cable and will then get good reviews from owners.
1 point
-
First and foremost I would ask whether the diesel engine is suitable for the journeys you make? If it is driven around town then you can expect several problems to occur.....EGR, DPF, Turbo, Injectors....all of which will clog up if not driven hard enough I see you currently drive a Chevette....great little car from the day!1 point
-
Hi....welcome to the Club I absolutely love the colour......gives it a superb look !1 point
-
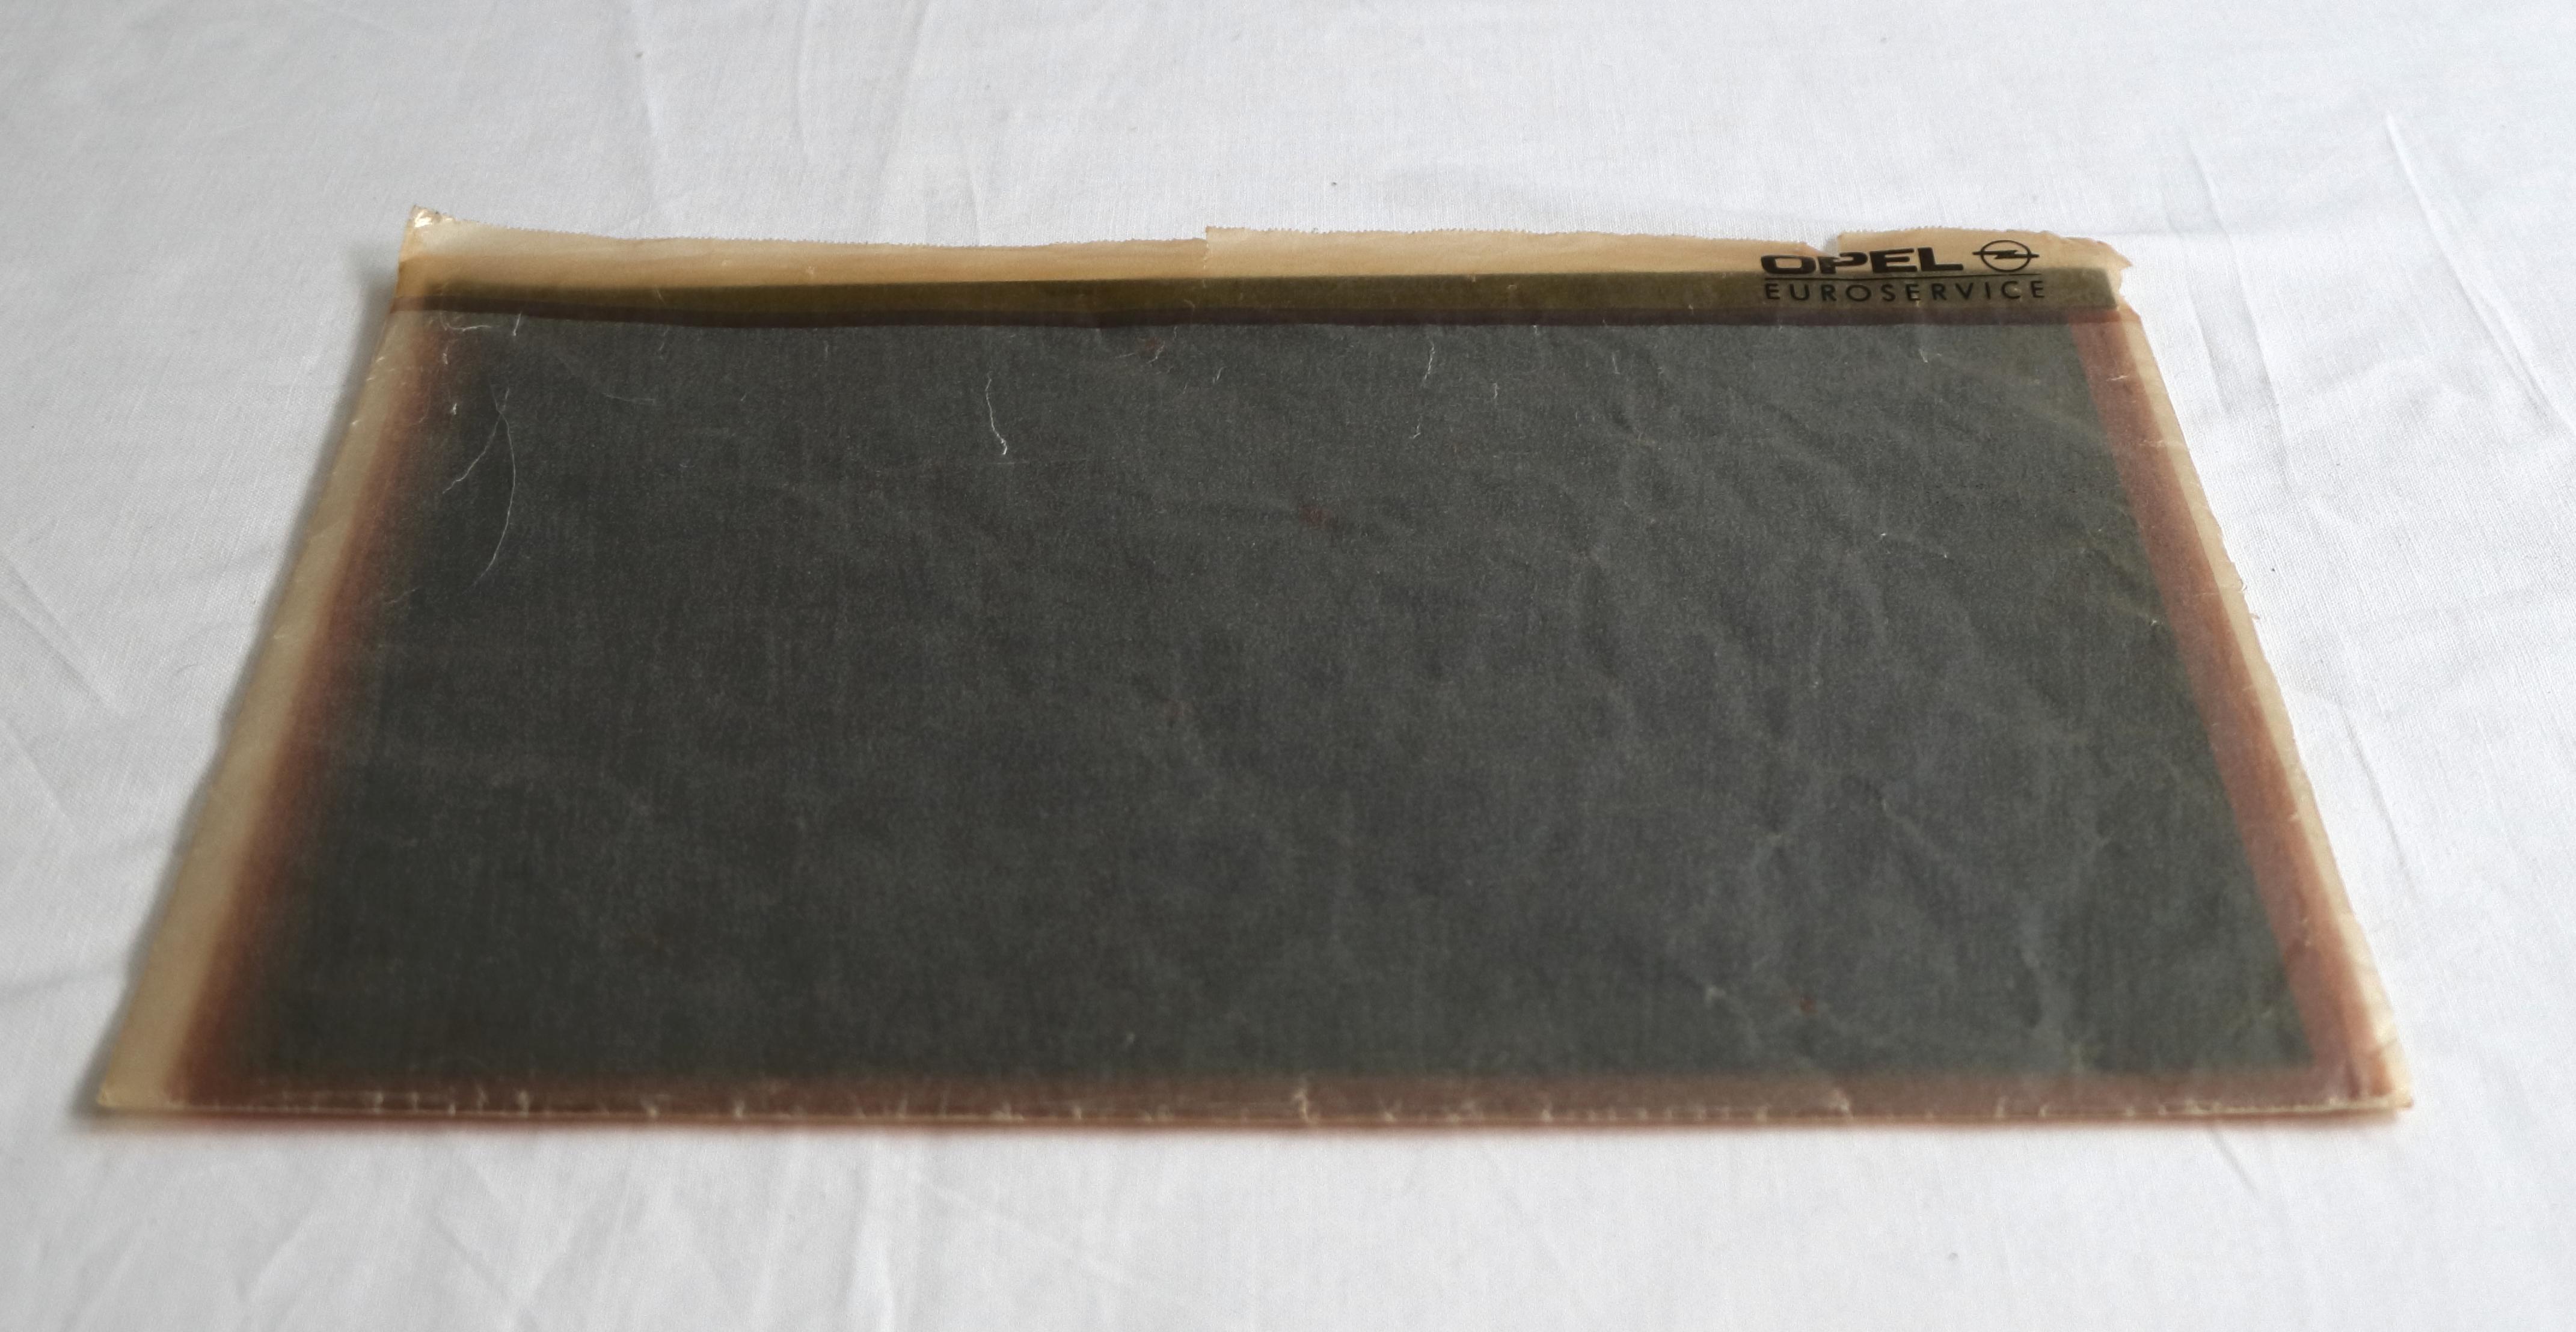
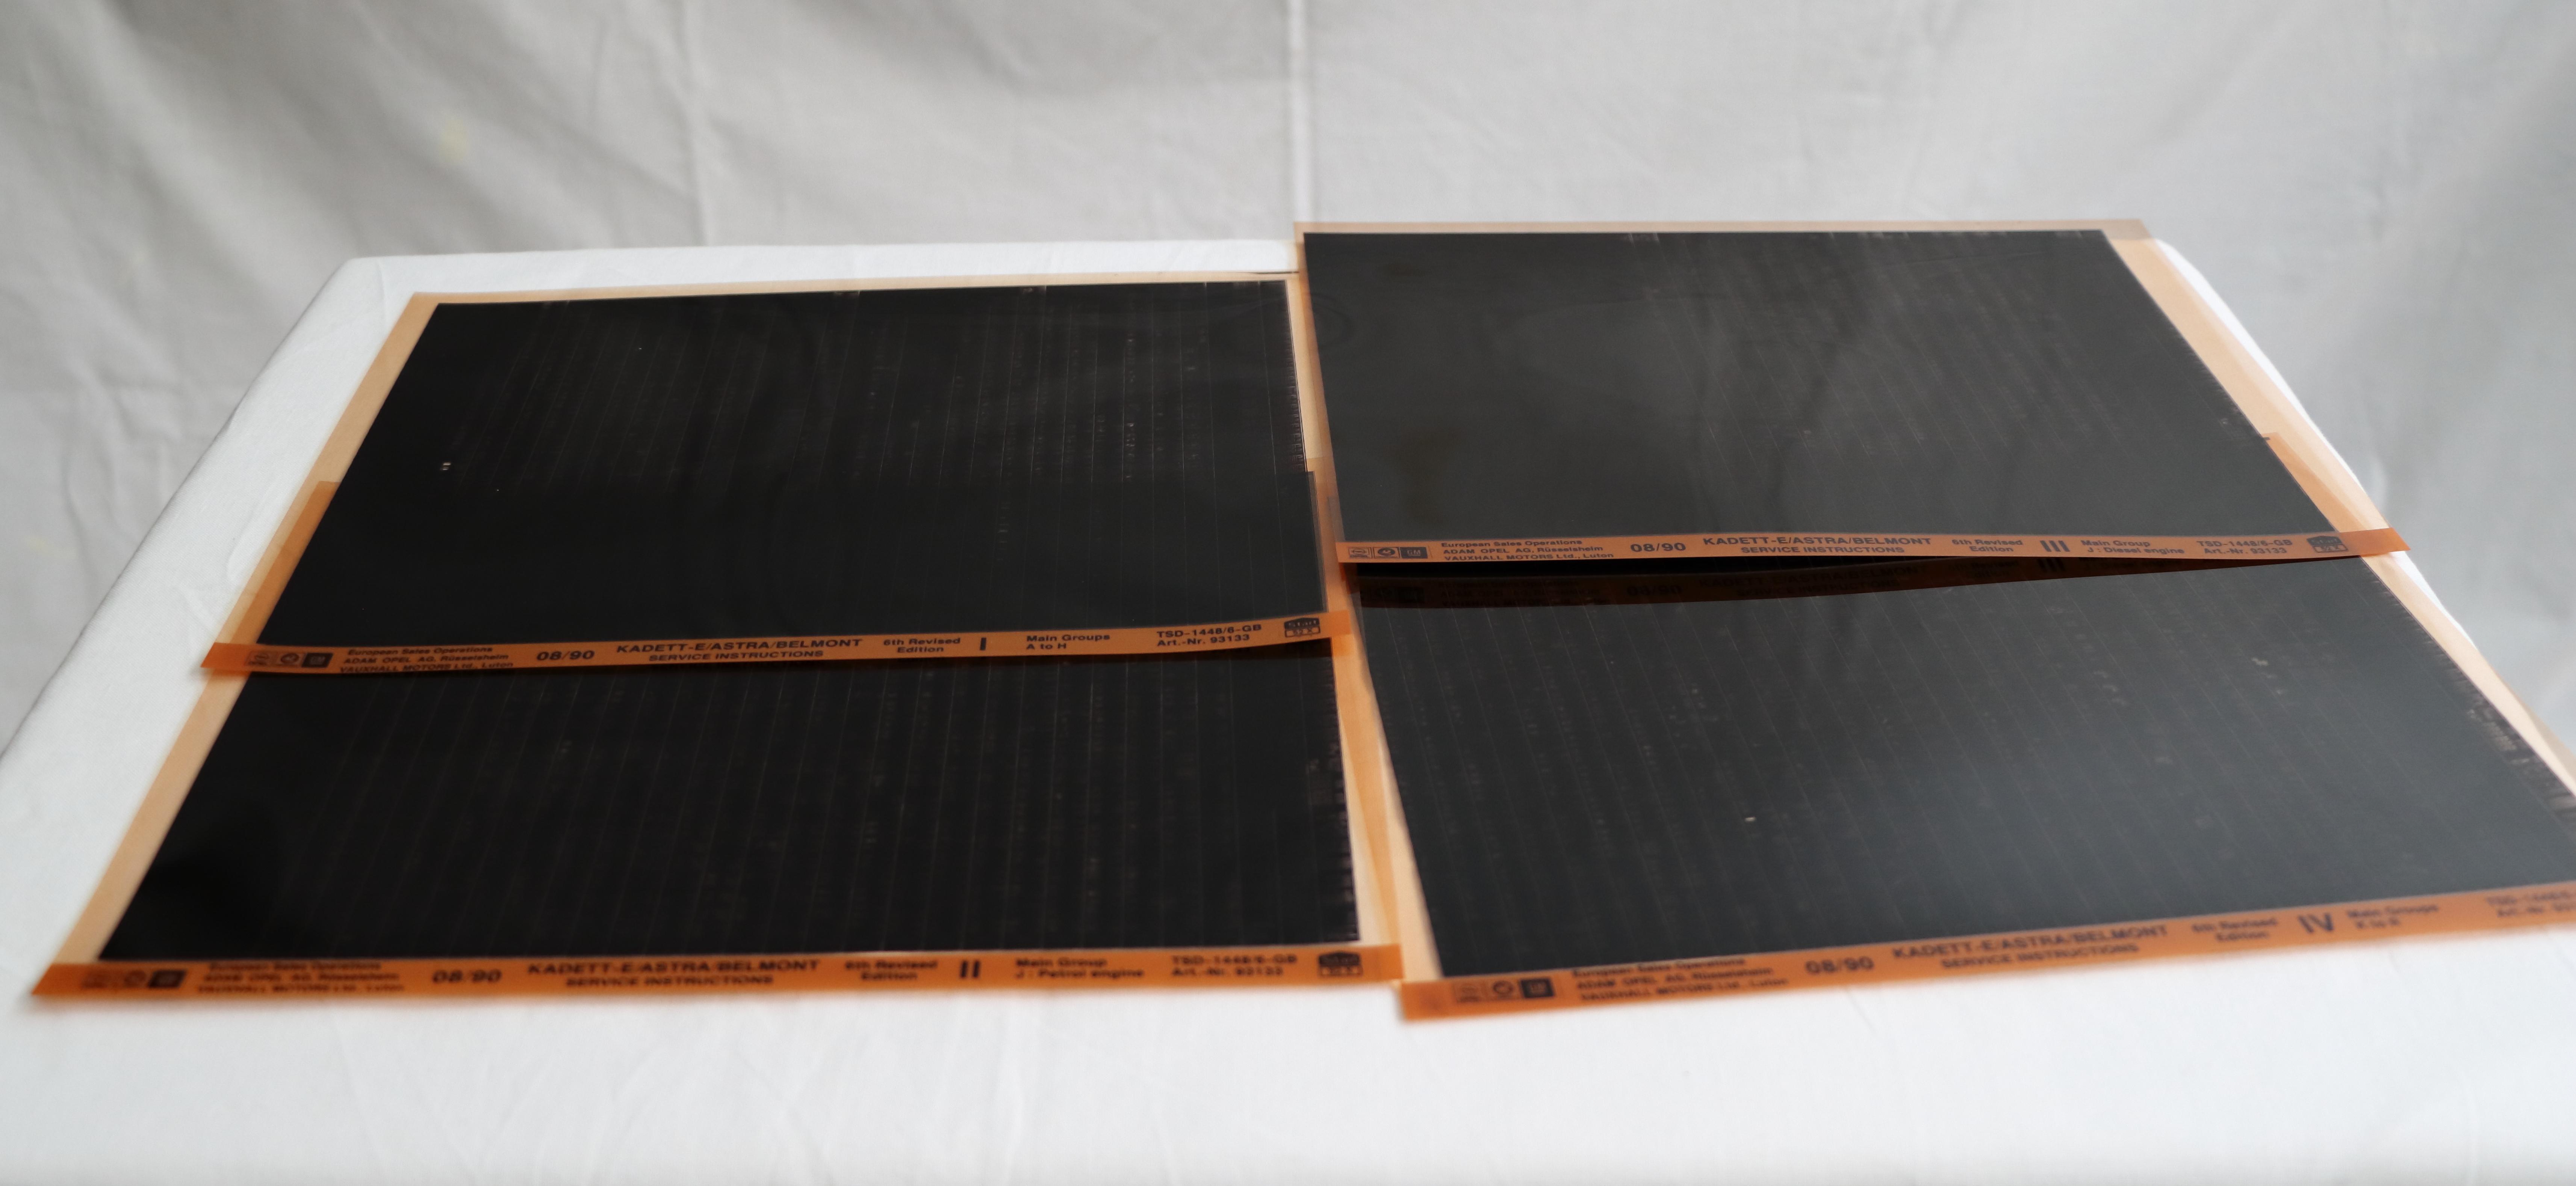
Vauxhall Astra, Opel Kadett & Vauxhall Belmont full service manual (microfiche) 1990 These microfiches contain the full workshop service instructions for the Vauxhall Astra and related models from 1990. My late father got them when he owned a Mk 2 Astra in 1990. Rather than just chuck them I thought I'd check to see if anyone could make good use of them... an invaluable resource if you're embarking on a restoration project or just keeping one on the road! He also had a Carlton at the same time so I'll be putting a similar post in that group... The microfiches are marked "08/90" (presumably August 1990) and "6th Revised Edition". They were bought with an H-reg vehicle so that aligns perfectly. The document identifier seems to be TSD-1448/6-GB and the "article number" is 93133. There are four microfiches in total. All are in excellent condition (they were only ever used in a DIY context and never in a commercial garage) and are still in the original Opel branded envelope. The four microfiches contain: I Sections A to H II Section J (OHC petrol & CIH petrol engines) III Section J (DOHC petrol and OHC diesel engines) IV Sections K to R The section headings are: A Maintenance, body and chassis sheet metal parts B Paint C Body equipment D Heating, ventilation and air conditioning E Frame, front wheel suspension, wheels and tyres F Rear axle and rear wheel suspension [G is omitted] H Brakes [I is omitted] J Engine and engine aggregates K Clutch and transmission L Fuel and exhaust system M Steering N Electrical equipment and instruments [O to Q are omitted] R Optional equipment and accessories Microfiche readers are readily available at relatively low cost on eBay and there seem to be people that offer a microfiche-to-PDF transcription service as well.
1 point